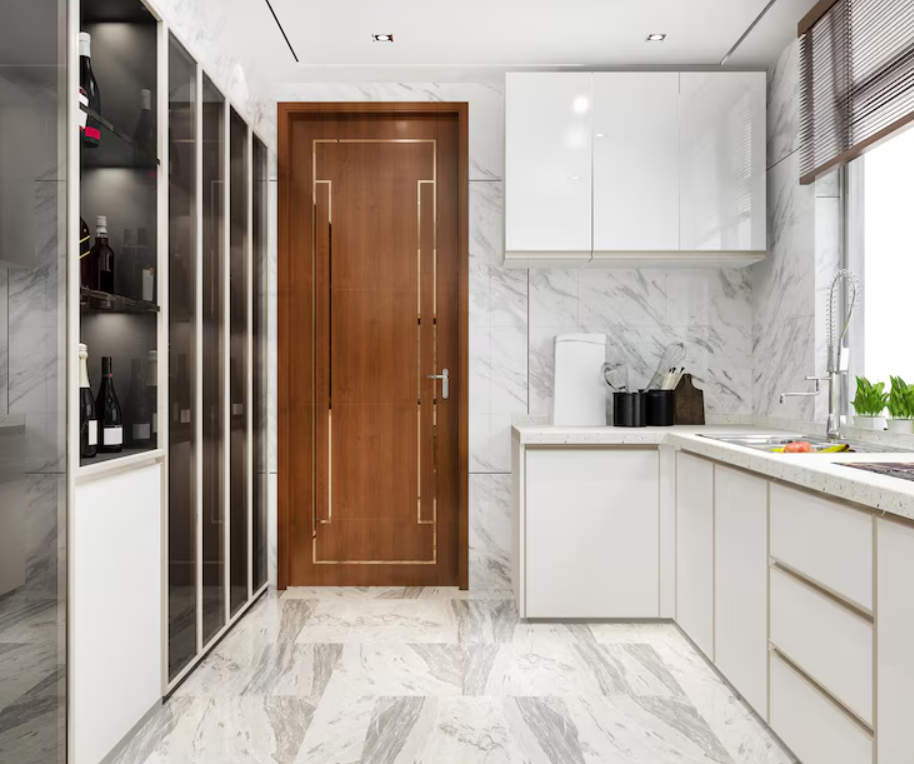
Upgrading your kitchen doors is a transformative endeavor, breathing new life into the heart of your home. Whether you're embarking on a full kitchen remodel or a simple refresh, knowing the best way to install kitchen doors is crucial for achieving a flawless and functional finish. In this comprehensive guide, we'll take you through each step of the installation process, ensuring that your kitchen doors not only look stunning but also operate seamlessly.
1. Gather Your Tools and Materials: Before diving into the installation, make sure you have all the necessary tools and materials. This typically includes a power drill, screwdrivers, measuring tape, level, screws, and the chosen kitchen doors with accompanying hardware.
2. Measure Twice, Cut Once: Accurate measurements are the foundation of a successful door installation. Measure the height and width of the door opening, ensuring precision to avoid any fitting issues later on. If your doors are not pre-drilled for handles or knobs, measure and mark their placement.
3. Remove Old Doors and Hardware: If you're replacing existing doors, carefully remove them along with any hinges or hardware. Clean the surfaces to ensure a smooth and even installation of the new doors.
4. Pre-Drill Holes for Hardware: If your new doors require hardware installation, pre-drill holes at the marked locations. Use a template or carefully measure to guarantee accurate placement.
5. Install Hinges: Attach the hinges to the doors first, following the manufacturer's instructions. Once hinges are securely attached to the doors, align them with the corresponding hinge locations on the cabinet frame and secure them in place.
6. Hang the Doors: With the hinges in place, carefully hang the doors on the cabinet frame. Double-check that the doors are level and aligned correctly. Make any necessary adjustments to ensure a perfect fit.
7. Adjusting Door Alignment: Most kitchen doors come with adjustable hinges to fine-tune alignment. Use a screwdriver to make necessary adjustments vertically, horizontally, or in terms of depth to achieve an even and symmetrical appearance.
8. Install Handles or Knobs: If your doors don't come with pre-installed handles or knobs, attach them according to your earlier measurements. Ensure they are at a comfortable height and align properly for a polished look.
9. Check for Smooth Operation: Open and close each door several times to confirm smooth operation. Address any issues with alignment or hardware adjustments as needed.
10. Final Checks and Finishing Touches: Perform a final inspection to ensure all doors are securely installed, aligned, and operating smoothly. Add any finishing touches, such as adjusting the tightness of screws or applying touch-up paint if necessary.
Installing kitchen doors is a rewarding project that enhances both the aesthetic appeal and functionality of your kitchen. By following these steps with precision and care, you can achieve a professional-looking result that elevates the overall design of your culinary space. Whether you're a seasoned DIY enthusiast or a first-time installer, this guide ensures that installing kitchen doors becomes a seamless and gratifying experience. Enjoy your newly upgraded kitchen!
For more information about our interior or exterior doors or door accessories, give us a call at 01603 622261 and speak to a member of our expert team today or Email us at sales@doorsuppliesonline.co.uk. We look forward to hearing from you.