Replacing an internal door may seem like a straightforward DIY task, but even small measuring or fitting errors can lead to problems such as uneven gaps, doors catching on the floor or carpets, and misaligned locks or latches. Understanding how to replace internal doors correctly is the key to achieving a professional finish. By choosing the correct internal door size, selecting the right door type, and ensuring compatible hinges, handles, and ironmongery, you can enjoy a smooth installation and long-lasting performance. Even the highest-quality internal door can look poorly fitted if the frame, clearances, or hardware are not properly prepared.
For many homeowners, replacing internal doors is one of the most effective ways to refresh the appearance of a property without undertaking a major renovation. New oak internal doors, glazed internal doors, or modern internal door sets can instantly transform a hallway, improve privacy between rooms, maximise natural light, and create a more cohesive interior design. Whether you're updating a single bedroom door or replacing every door throughout your home, selecting the right style and specification will significantly enhance both the aesthetics and functionality of your living space.
Before you replace internal doors, check the basics
The first decision is not style. It is whether you are replacing a door leaf only or changing more of the setup. If the existing frame is square, solid, and in good condition, replacing the door leaf can be the quickest route. If the lining is damaged, twisted, or badly fitted, you may save time and achieve a better result by changing the frame as well or specifying a pre-assembled door set.
You also need to confirm whether the existing door is a standard internal door or a fire door. This is particularly important in loft conversions, integral garage access, some new-build layouts, and certain HMOs or commercial settings. If the opening requires an FD30 or FD60 fire door, you cannot simply swap in a standard internal oak or moulded door because it looks similar. Fire compliance depends on the complete specification, including the door, frame, hinges, seals, and often the glazing system.
Spend a few minutes checking the floor finish, too. A new carpet, underlay or flooring build-up can reduce clearance at the bottom of the door. This often catches people out when they measure the old door before the final floor is down.
Measuring up for replacement internal doors
If you want to know how to replace internal doors without unnecessary trimming and refitting, accurate measuring is the part that matters most. Measure the existing door leaf if it fits well, but do not rely on that alone. Measure the frame opening as well, in several places, because older properties often have slight variations.
Take the height on both sides and in the centre. Take the width at the top, middle, and bottom. Then check the thickness of the current door, which is commonly 35mm for standard internal doors and often 44mm for fire doors, although specifications can vary. If the frame is not square, work to the tightest point and allow sensible fitting tolerances.
In UK properties, many internal door sizes are fairly standard, but not every opening is. That is why product choice matters. Some doors offer more trimming allowance than others. With solid core and fire doors, trimming is more restricted and must follow the manufacturer's guidance. Ignore that, and you risk affecting performance or invalidating certification.
Picking the right door for the room
A bedroom, bathroom, cupboard, and kitchen do not always need the same type of door. A glazed door can bring borrowed light into darker internal spaces, while a solid panel door may be better where privacy and sound reduction matter more. Veneered oak remains a popular choice for renovations because it works across both modern and traditional interiors, while primed white and black internal doors suit cleaner, more contemporary schemes.
Core construction is worth paying attention to. Hollow and lightweight doors can suit lower-traffic areas and tighter budgets, but solid core options usually feel more substantial and wear better over time. In rental properties or busy family homes, that extra durability is often worthwhile.
Tools and fittings you will usually need
Replacing like-for-like is typically a manageable joinery job, but it still needs care. In most cases, you will need a tape measure, pencil, combination square, plane, drill, sharp chisels, screwdriver, utility knife, sandpaper, and a decent set of door wedges or packers. If you are fitting unfinished timber doors, include the right finishing products in your plan rather than leaving exposed edges untreated.
On the hardware side, check whether the existing hinges are suitable for reuse. Often they are not. Old hinges may be worn, painted over, or incorrectly sized. New hinges, latch sets, and handles give a cleaner finish and avoid fitting a fresh door to tired ironmongery. For heavier doors, especially solid core and fire doors, hinge quality is not an area to cut back on.
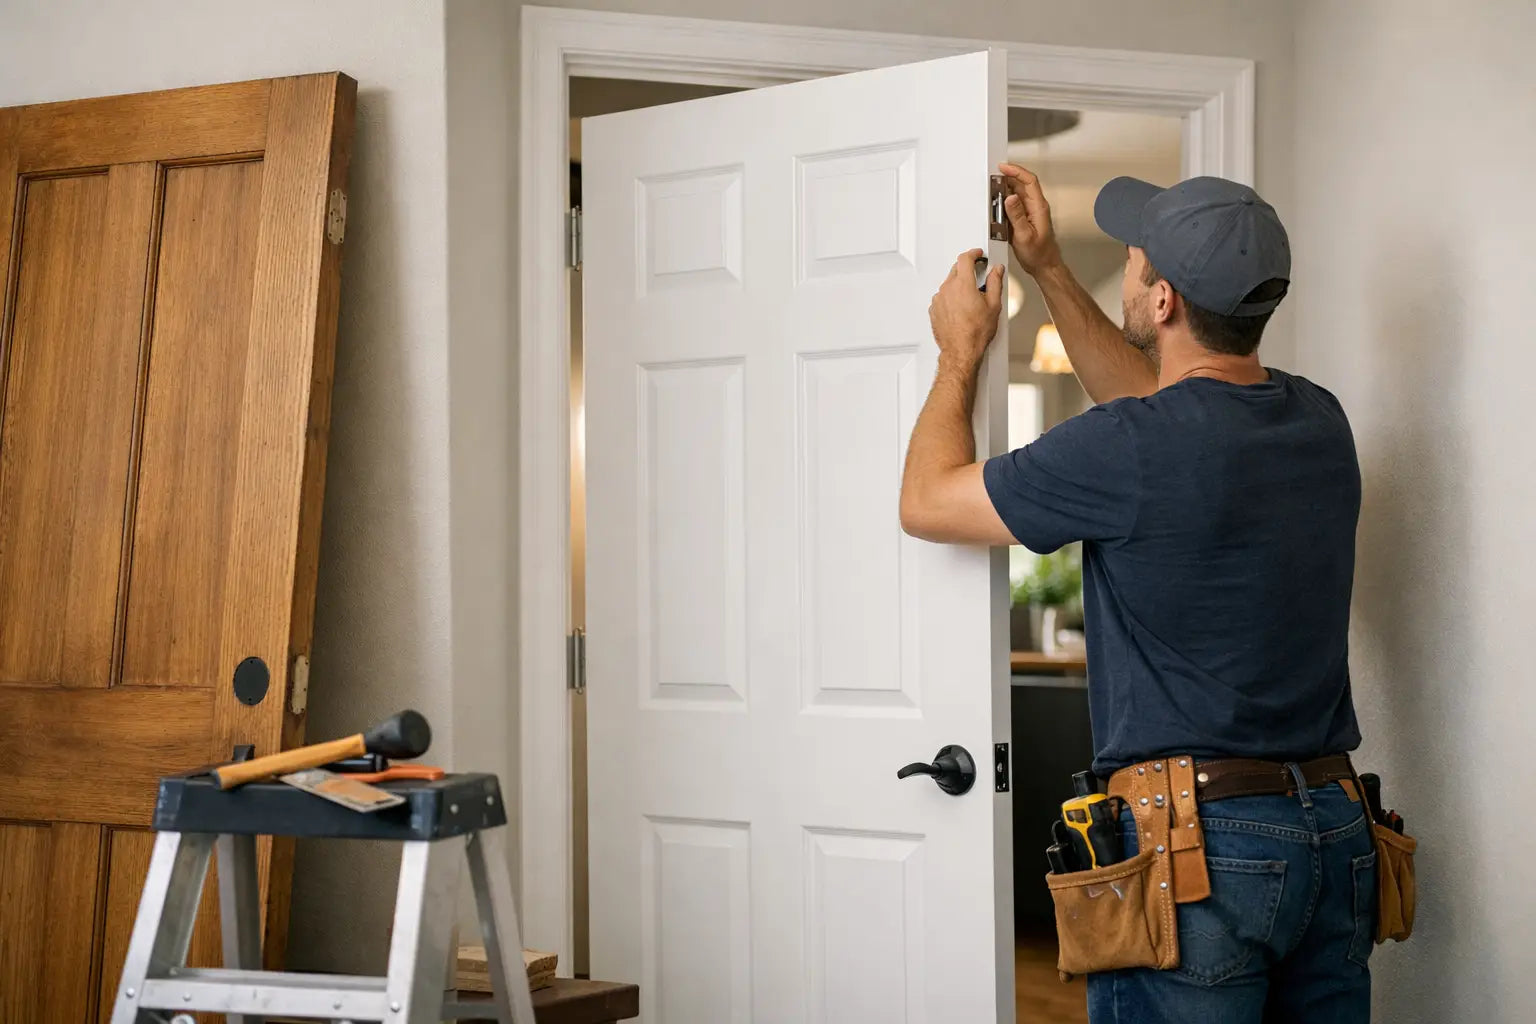
How to replace internal doors step by step
Start by removing the old door carefully and labelling the top edge and hinge side if you intend to use it as a reference. Once it is off, inspect the frame, hinges, and latch keep. There is no point fitting a new door into a frame with loose screws, damaged recesses, or movement in the lining.
Offer the new door into the opening before any trimming. That tells you where material needs to come off and whether the frame itself is the real problem. Mark the door clearly. Trim evenly where possible and take off small amounts at a time. A common mistake is trying to remove too much in one pass, which is how edges end up out of square.
If you are transferring hinge positions from the old door, measure carefully rather than assuming they are identical. Mark the hinge recesses, score the outline with a knife and chisel neatly to depth. The hinge leaf should sit flush, not proud and not sunk too deep. Then pilot drill the screw holes to reduce the risk of splitting, especially on veneered doors.
Hang the door on one hinge first, then the second, and test the swing before fitting the latch. Check the gaps all round. As a rule, you are aiming for a consistent clearance at the sides and top, with suitable clearance at the bottom for the floor finish and airflow requirements. Bathrooms may need a little more consideration here, depending on ventilation.
Once the swing is right, mark and fit the latch. Again, take your time. A poorly aligned latch is one of the fastest ways to make a new door feel badly fitted. Finish by fitting the handles, strike plate, and any stops or seals required.
Finishing and sealing the door correctly
Unfinished timber and veneered doors should be sealed on all faces and edges, including the top and bottom, unless the manufacturer states otherwise. Skipping the top and bottom edges is a common cause of moisture-related movement. In kitchens, bathrooms, and utility spaces, this matters even more.
If you are fitting a fire door, the finishing details are more controlled. Use the correct intumescent strips, hinges, and hardware specification, and do not exceed permitted trimming limits. If there is any uncertainty over compliance, treat it as a technical purchase rather than a general DIY replacement.
When replacing internal doors gets more technical
Not every door swap is a simple one-for-one job. Older homes can have out-of-plumb frames, uneven floors, and non-standard openings. In that situation, buying purely on style can be expensive because the wrong product may need excessive alteration. This is where a specialist supplier becomes useful - especially if you are trying to match fire requirements, glazed options, pocket door systems, or a coordinated range across multiple rooms.
There is also a point where replacing the full assembly is the better commercial decision. If you are fitting several doors in a refurbishment or development, pre-assembled sets can reduce site time and improve consistency. For landlords and trade buyers, that can matter as much as the door design itself.
Common mistakes to avoid
Most problems come back to three issues: poor measuring, over-trimming, and choosing the wrong specification. If the opening needs a fire door, use a compliant fire-rated product and compatible components. If the frame is poor, do not expect a new door leaf to hide it. If the bottom gap is wrong because the floor finish changed, fix the clearance properly rather than forcing the door to work around it.
Another frequent issue is mixing premium doors with low-grade hardware. The door does the visual work, but the hinges, latch, and handles do the day-to-day work. Both need to be right.
If you are sourcing for a full house update, matching door style, finish, and ironmongery across the property usually gives a stronger result than treating each opening as a separate quick fix. That applies whether you are updating one hallway or specifying multiple plots.
A well-fitted internal door should close cleanly, swing freely, and look as though it belongs to the frame. That sounds basic, but it is exactly what separates a rushed replacement from a proper job. If you are buying with one eye on design and the other on fit, durability, and compliance, take the extra time at the selection stage - it pays back the moment the door is hung.
For more information about our interior or exterior doors or door accessories, give us a call at 01603 622261 and speak to a member of our expert team today, or email us at sales@doorsuppliesonline.co.uk. We look forward to hearing from you.