
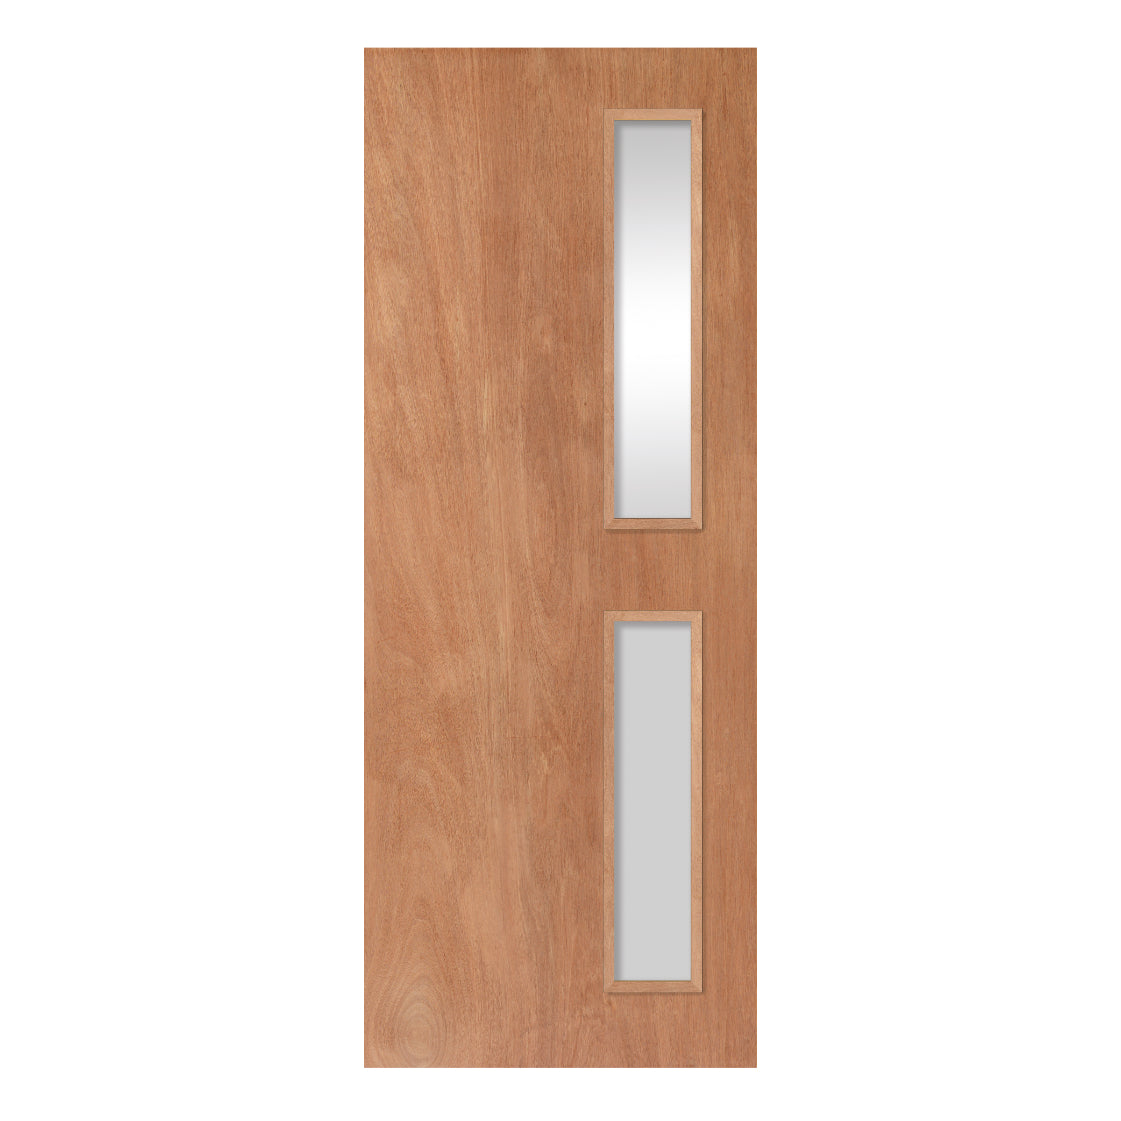
Plywood doors' cost, toughness, and adaptability make them a popular option for homes in the UK. These doors provide a smooth surface that is perfect for custom finishes, whether they are used internally or as part of bespoke joinery. A door made of raw plywood, however, won't have the polished appearance that most homeowners like. Finishing is necessary to genuinely improve its appearance and shield it from damage.
The good news is that plywood offers a wide variety of finishing choices. You may customise your door's appearance to fit any interior design, whether it's with a striking coat of paint, a deep wood stain, or even a high-end veneer.
The three primary methods of finishing plywood doors—painting, veneering, and staining—will be covered in this guide, along with detailed instructions, professional advice, and suggestions for the finish that could be most appropriate for your house.
Why Finish Plywood Doors?
Before looking at specific finishing techniques, let’s understand why finishing plywood doors is so important:
-
Protection: Plywood is strong but still vulnerable to scratches, moisture, and stains. A proper finish seals the surface.
-
Aesthetic appeal: Finishes can transform plain plywood into something elegant, rustic, or modern.
-
Durability: Finishing extends the lifespan of the door, keeping it looking new for longer.
-
Customisation: Paints, stains, and veneers allow you to match the door to your interior design.
Preparation: The Key to a Great Finish
Regardless of whether you choose paint, stain, or veneer, surface preparation is crucial.
Step 1: Sanding
-
Start with 120-grit sandpaper, moving to 220-grit for a smooth finish.
-
Sand in the direction of the grain.
-
Remove any factory markings, glue spots, or rough patches.
Step 2: Cleaning
-
Wipe the surface with a damp cloth to remove dust.
-
Allow to dry fully before applying any finish.
Step 3: Filling Gaps
-
Use wood filler to repair small cracks or imperfections.
-
Sand smooth once dry.
Option 1: Painting Plywood Doors
Painting is the most popular choice for finishing plywood doors in modern UK homes. It provides a sleek, customisable look and can hide imperfections.
Benefits of Painting Plywood
-
Wide choice of colours (ideal for matching décor).
-
Provides strong protection against moisture.
-
Affordable and relatively quick to apply.
Step-by-Step Guide to Painting Plywood Doors
-
Prime the surface: Apply a primer designed for wood or plywood. This ensures better adhesion and prevents paint from soaking unevenly.
-
Sand lightly after priming: This removes raised fibres.
-
Apply the first coat: Use a high-quality wood paint (satin, gloss, or matt depending on preference). A roller ensures a smooth finish, while a brush works for edges.
-
Allow to dry: Follow the manufacturer’s instructions for drying times.
-
Apply a second coat: Two coats are typically sufficient, but three may be needed for darker colours.
Pro Tip: For a flawless result, consider spraying the paint rather than brushing, especially on large, flat panels.
Best Paint Types for Plywood Doors
-
Acrylic latex paint: Durable, water-based, and easy to clean.
-
Oil-based paint: Provides a hard-wearing surface but takes longer to dry.
-
Chalk paint: Great for a rustic, shabby-chic finish.
Option 2: Veneering Plywood Doors
Veneering involves applying a thin layer of real wood to the surface of your plywood door, giving it the appearance of solid hardwood without the cost.
Benefits of Veneering
-
Premium finish with natural wood grains.
-
Cost-effective alternative to solid wood doors.
-
Wide range of veneers available: oak, walnut, maple, ash, and more.
Step-by-Step Guide to Veneering Plywood Doors
-
Choose your veneer: Available in sheets or rolls, veneers come in a variety of species and finishes.
-
Cut veneer to size: Leave a slight overhang for trimming later.
-
Apply adhesive: Use veneer glue or contact cement. Apply evenly to both the veneer and the plywood door surface.
-
Press veneer in place: Use a veneer roller or press to ensure a flat, bubble-free application.
-
Trim edges: Once set, use a sharp blade or trimmer to remove excess veneer.
-
Seal the surface: Apply a clear varnish or oil to protect the veneer.
Pro Tip: Veneered plywood doors are ideal in luxury kitchen or living room settings where you want a high-end wood finish without the price tag.
Option 3: Staining Plywood Doors
Staining is perfect if you want to enhance the natural grain of plywood rather than cover it.
Benefits of Staining
-
Highlights the natural character of the wood.
-
Available in a wide range of tones, from light oak to dark walnut.
-
Easy to apply and maintain.
Step-by-Step Guide to Staining Plywood Doors
-
Test the stain first: Apply to a scrap piece of plywood or an inconspicuous area.
-
Apply pre-stain conditioner: This ensures even absorption and prevents blotching.
-
Brush or wipe stain: Work with the grain for a consistent look.
-
Wipe off excess: After a few minutes, remove any extra stain with a clean cloth.
-
Apply a second coat if needed: Darker finishes often require multiple applications.
-
Seal with polyurethane or varnish: This protects the stained wood and adds a glossy or satin sheen.
Pro Tip: If your plywood door has a less attractive grain, use a gel stain, which sits on top and provides more even colouring.
Comparing Finishing Options: Painting vs Veneering vs Staining
| Feature | Painting | Veneering | Staining |
|---|---|---|---|
| Cost | Low to Medium | Medium to High | Low |
| Durability | High (with sealer) | Very High | Medium |
| Look | Customisable, colourful | Premium, natural wood | Natural enhancement |
| Skill required | Beginner-friendly | Moderate to Advanced | Beginner-friendly |
| Best for | Modern, bold interiors | Luxury or classic styles | Rustic or natural décor |
Common Mistakes to Avoid
-
Skipping primer on plywood before painting — leads to patchy finishes.
-
Applying veneer without proper adhesive — causes bubbling or peeling.
-
Skipping a topcoat on stained doors — leaves wood vulnerable to scratches.
-
Not sanding between coats — results in a rough surface.
-
Using the wrong stain type — plywood absorbs differently than solid wood.
Cost Breakdown in the UK
-
Painting a plywood door: £25–£80 (including primer and paint).
-
Veneering a plywood door: £100–£300 (depending on veneer type).
-
Staining a plywood door: £20–£60 (including stain and sealer).
Note: Professional labour costs can double or triple these prices.
What Paint Can You Use on Plywood?
The best paint for plywood depends on where it will be used and the appearance you want to achieve.
For interior furniture, cabinets and decorative panels, water-based acrylic or furniture paints can provide a durable and attractive finish. For areas subject to more wear, a hard-wearing trim, cabinet or specialist furniture paint may be more appropriate.
Common options include:
Acrylic Paint
Water-based acrylic paint is relatively easy to apply and is available in a wide range of colours. It can be a practical option for interior plywood projects.
Furniture Paint
Furniture and cabinet paints are designed to provide a harder-wearing finish and can be useful for plywood furniture, shelving and cabinetry.
Satin or Eggshell Paint
Satin and eggshell finishes provide less sheen than gloss while still offering a relatively durable surface. They can work well for interior projects where you want a refined finish.
Gloss Paint
Gloss creates a harder, highly reflective finish. It can be suitable for certain furniture and trim applications, although surface preparation needs to be particularly thorough because imperfections can be more visible.
Always check the manufacturer's instructions to make sure the primer and paint are compatible with the plywood and intended application.
How to Paint Plywood Step by Step
If you want to know how to paint plywood properly, follow a systematic preparation and painting process.
Step 1: Prepare the Plywood
Start with a clean, dry piece of plywood.
Remove dust, dirt, grease and other contaminants from the surface. If the plywood has previously been painted or finished, remove any loose or flaking material before continuing.
Inspect the plywood for:
- Splinters
- Rough areas
- Small holes
- Cracks
- Surface imperfections
- Damaged edges
Fill suitable imperfections with a compatible wood filler and allow it to dry according to the manufacturer's instructions.
Step 2: Sand the Surface
Sanding is one of the most important stages when painting plywood.
Use a suitable fine or medium-fine abrasive to smooth the surface and remove rough areas. Sand in the direction of the surface grain where appropriate.
The objective is not necessarily to remove every natural feature from the plywood. Instead, you want to create a clean, even surface that will allow the primer to adhere properly.
Pay particular attention to the plywood edges.
The exposed layers can feel rough and may absorb primer and paint unevenly. Sand the edges carefully until they are smooth.
After sanding, remove all dust before applying primer.
A vacuum followed by a clean, slightly damp cloth can help remove remaining sanding dust. Allow the surface to dry completely.
Step 3: Prime the Plywood
Do not skip the primer when aiming for a high-quality painted finish.
A suitable wood or plywood primer helps prepare the surface for paint and can reduce uneven absorption. Primer is particularly important on exposed plywood edges.
Apply an even coat and avoid leaving heavy build-up around corners and edges.
Once the primer has dried, inspect the surface. If you can still see rough areas or imperfections, lightly sand them before applying another coat where necessary.
Follow the primer manufacturer's drying and recoat instructions.
Step 4: Choose Your Paint
Choosing the right paint is important because different plywood projects have different requirements.
For example, a decorative wall panel may not need the same level of durability as a frequently used cabinet door or piece of furniture.
Consider:
- Where the plywood will be used
- How much wear it will receive
- Whether it will be exposed to moisture
- The desired colour
- The desired sheen
- Whether the surface needs to be washable
- The manufacturer's recommended application system
For interior projects, a quality water-based furniture, cabinet or trim paint can be a practical choice.
Step 5: Apply the First Coat
Apply the first coat of paint evenly using a good-quality brush, roller or suitable spray system.
Avoid applying excessively thick coats. Several thinner coats will often produce a better result than trying to achieve complete coverage in one application.
Work systematically across the surface and watch for runs, drips and heavy paint accumulation around edges.
Allow the first coat to dry fully according to the paint manufacturer's instructions.
Step 6: Lightly Sand Between Coats
Once the first coat has dried, inspect the surface.
If required, lightly sand it using a fine abrasive. This can help remove small imperfections and provide a smoother surface for the next coat.
Do not aggressively sand through the primer or first coat.
Remove all sanding dust before continuing.
Step 7: Apply the Finishing Coat
Apply the final coat evenly, using consistent strokes or passes.
Take extra care around corners, edges and joins. Avoid repeatedly brushing an area after the paint has started to become tacky, as this can affect the finish.
Allow the final coat to dry completely before handling or installing the plywood.
For surfaces that receive heavy use, follow the paint manufacturer's instructions regarding curing time before putting the finished item into regular service.
Should You Seal Plywood Before Painting?
In many cases, using a suitable primer is enough to prepare plywood for paint. However, the exposed edges may require additional attention because they are more absorbent.
If the edges remain rough or continue to absorb the coating unevenly, additional preparation may be necessary.
Some projects may also benefit from an appropriate wood filler or edge treatment before priming.
Always make sure that any filler, sealer, primer and paint are compatible.
How to Get Smooth Painted Plywood Edges
The edges are often the most difficult part of painting plywood.
Unlike the face of the board, the edge exposes the multiple layers of veneer. This can make it more porous and uneven.
For smoother edges:
- Sand the edges thoroughly.
- Remove all dust.
- Apply wood filler if required.
- Allow the filler to dry.
- Sand again.
- Apply primer.
- Inspect the surface.
- Lightly sand if necessary.
- Apply the first paint coat.
- Apply the finishing coat once the previous coat has dried.
For furniture and visible cabinetry, taking extra time on the edges can significantly improve the finished appearance.
Can You Paint Plywood Without Sanding?
It is possible to paint some prepared plywood surfaces without extensive sanding, but sanding is generally recommended when you want a durable and professional-looking finish.
Sanding helps smooth rough areas and gives the primer a better surface to adhere to.
If the plywood is already smooth, clean, and suitably prepared, you may only need light sanding. However, heavily textured, dirty, damaged or previously finished plywood will usually require more preparation.
Painting Plywood vs Staining Plywood
Painting is not the only way to finish plywood.
Staining plywood can be a better option when you want to retain and enhance the appearance of the natural wood surface.
Unlike paint, which covers the underlying grain with an opaque colour, stain can allow more of the timber appearance to remain visible.
Staining can work particularly well when:
- The plywood has an attractive face veneer
- You want a natural timber appearance
- The grain is an important part of the design
- You want to add colour without completely covering the wood
However, the appearance of stain can vary depending on the plywood species, face veneer and preparation.
Always test the stain on an offcut or concealed area before treating the entire project.
Painting Plywood vs Veneering Plywood
Another alternative is veneering plywood.
Applying a suitable wood veneer can change the visible appearance of a plywood panel while retaining the strength and stability of the underlying board.
Veneering can be useful when you want the appearance of a particular timber species without painting the surface.
For example, a plywood panel can potentially be finished with an oak, walnut or other decorative wood veneer depending on the project requirements.
Veneering generally requires more specialist preparation than painting, so it may not be the simplest choice for a basic DIY project.
Which Plywood Finish Should You Choose?
The right finish depends on the appearance and performance you want.
| Finish | Best for | Appearance |
|---|---|---|
| Paint | Furniture, cabinets, panels | Opaque colour |
| Stain | Decorative timber surfaces | Enhanced natural grain |
| Veneer | Premium furniture and panels | Natural wood appearance |
If you want a bold colour or contemporary finish, painting plywood is usually the most straightforward option.
If you want to showcase natural timber characteristics, staining may be more appropriate.
If you want a specific premium wood appearance, veneering can provide another option.
Tips for Painting Plywood
For a better finished result, keep the following tips in mind:
Use Quality Plywood
The quality of the face veneer can affect the finished appearance. Higher-quality plywood with a suitable face can be easier to finish attractively.
Don't Skip Preparation
Poor preparation can leave scratches, rough edges and visible imperfections beneath the paint.
Pay Attention to the Edges
Plywood edges often require more preparation than the face of the board.
Don't Apply Paint Too Thickly
Several controlled coats generally provide a better result than one thick coat.
Allow Sufficient Drying Time
Follow the manufacturer's recommended drying and recoating times. Painting over a coating that has not dried sufficiently can affect the final finish.
Test Before Starting
If you are unsure how a particular primer, paint or stain will look, test it on an offcut first.
Can You Paint Plywood Furniture?
Yes. Plywood can be painted for tables, shelving, cabinets, storage units and other furniture projects.
For furniture that receives frequent use, choose a durable coating designed for the application and pay particular attention to the preparation of edges and corners.
A smooth primer and carefully applied finishing coats can transform basic plywood into a clean, modern furniture surface.
Can You Paint Plywood Cabinets?
Plywood is commonly used for cabinetry and can be painted to create a clean, consistent appearance.
Before painting plywood cabinets, remove hardware where possible and clean the surfaces thoroughly. Sand the plywood, repair imperfections, prime the surface and apply compatible cabinet or furniture paint.
Allow the coating to cure fully before reinstalling handles or putting the cabinets back into heavy use.
Frequently Asked Questions
Can you paint plywood?
Yes. Plywood can be painted successfully when the surface is properly sanded, cleaned and primed before applying suitable paint.
What is the best paint for plywood?
The best paint depends on the project. Water-based acrylic, furniture, cabinet and trim paints can all be suitable for different interior plywood applications. Always follow the paint manufacturer's recommendations.
Do you need to prime plywood before painting?
Priming is strongly recommended for a professional and durable finish. It helps prepare the surface and can reduce uneven absorption, particularly around exposed edges.
Do you have to sand plywood before painting?
Sanding is recommended because it smooths rough areas and helps prepare the surface for primer and paint. The amount of sanding required depends on the condition of the plywood.
Can you stain plywood instead of painting it?
Yes. Staining plywood is an alternative when you want to retain more of the natural timber appearance. The final result depends on the plywood species and face veneer.
Can plywood be veneered?
Yes. Veneering plywood can provide the appearance of a different timber species while retaining the underlying plywood substrate.
FAQs About Finishing Plywood Doors
1. Can you paint plywood doors without priming?
No, plywood is porous, and primer is essential for a smooth, even finish.
2. Is veneer durable on doors?
Yes, high-quality veneer with a protective seal can last decades.
3. What’s the best stain for plywood?
Gel stains often work best as they provide even coverage.
4. Can I mix finishes on the same door?
Yes, for example, you could veneer the main surface and paint the edges.
5. How do I maintain a veneered door?
Wipe with a damp cloth and avoid harsh chemicals. Apply oil or polish occasionally.
Conclusion
A great method to turn an inexpensive material into a fashionable, long-lasting, and completely personalised feature for your house is to finish plywood doors. Every technique has its own advantages, whether you choose veneering (luxurious and natural), painting (contemporary and colourful), or staining (rustic and warm).
Your financial situation, preferred style, and amount of time invested will all influence your decision. However, meticulous preparation and sealing are essential for a long-lasting, expert finish, whatever of the technique you select.
To put it briefly, plywood doors don't have to appear boring or unfinished; with the correct technique, they can look just as beautiful as any high-end product available.
For more information about our interior or exterior doors or door accessories, give us a call at 01603 622261 and speak to a member of our expert team today, or email us at sales@doorsuppliesonline.co.uk. We look forward to hearing from you.