
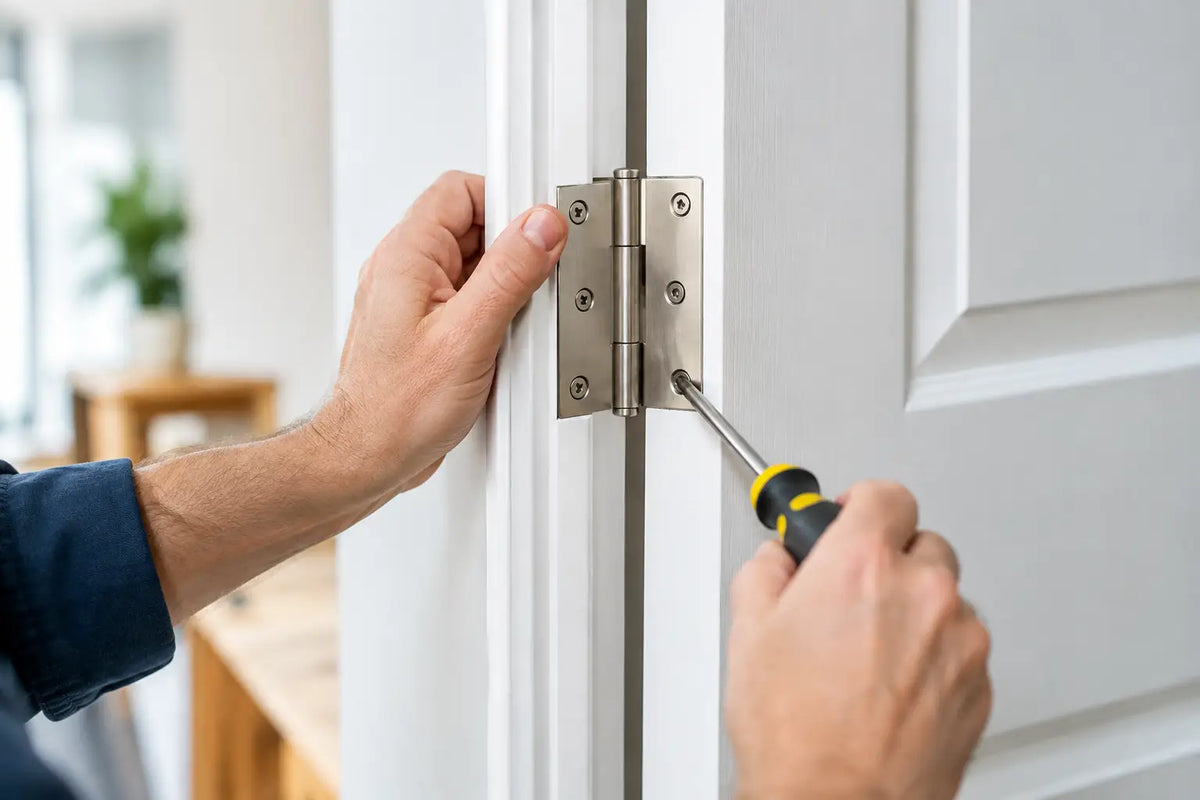
A door can be beautifully finished, correctly sized and fitted with quality handles, yet still feel wrong if the hinges are poorly positioned. Learning how to fit door hinges correctly helps create an even door gap, a smooth swing and a secure, quiet close. Accurate marking and careful positioning are more important than speed when fitting door hinges.
For a standard internal door, fitting door hinges is well within the reach of a competent DIYer or renovator with the right tools and a methodical approach. Heavier external doors, solid-core doors and fire doors require more careful planning. The hinge type, number of hinges and fixing method should be suitable for the door's weight, frame material and, where applicable, the fire-door specification.
Before you start, check the door and frame manufacturer’s recommendations and make sure you have the correct door hinges for the application. Taking time to measure, mark and position each hinge accurately can make the difference between a door that operates smoothly and one that catches, drops or fails to close correctly.
Choose the right hinges before you start
Butt hinges are the common choice for hinged internal and external doors. They consist of two leaves joined by a central pin: one leaf fixes to the door edge and the other to the door frame. A standard lightweight hollow-core internal door may use 75mm hinges, while heavier solid, oak or glazed doors often need 100mm hinges.
Three hinges are generally recommended for a full-height internal door, particularly where the leaf is solid-core or will see frequent use. The third hinge provides better support and reduces the chance of the door dropping over time. Heavier entrance doors may require larger, ball-bearing hinges or a greater quantity, depending on the manufacturer’s guidance.
Finish matters too. Polished chrome, satin nickel, antique brass, black and stainless steel hinges can be selected to coordinate with handles, latches and other ironmongery. For rooms exposed to moisture, such as bathrooms, kitchens and coastal properties, corrosion-resistant stainless steel is usually the sensible option.
For a fire door, do not treat hinges as a decorative afterthought. The hinge specification must be suitable for the door’s FD30 or FD60 rating and fitted in line with the door manufacturer’s installation instructions. Fire-rated hinges are commonly steel and may require intumescent hinge pads or seals. Changing the hinge size, quantity or fixing screws without checking the certification can compromise compliance.
Tools for fitting door hinges
A sharp pencil, tape measure, combination square, sharp chisel and mallet are the essentials for marking and cutting hinge recesses. You will also need a drill or combi drill, suitable drill bits, a screwdriver or driver bit, clamps, wedges or packers, and the screws supplied with the hinges.
A router with a hinge jig makes consistent recesses quickly, especially when fitting several doors. It is not essential for one door, but it produces neat results and saves time on a larger renovation or new-build project. If using a chisel, keep it sharp: a blunt chisel is far more likely to crush timber fibres and leave an untidy edge.
Before cutting anything, check that the door opens in the intended direction. Stand on the side from which the door opens towards you: if the hinges are on the right, it is right-handed; if they are on the left, it is left-handed. Confirm this against the room layout, light switches, furniture and any adjacent doors.
How to fit door hinges: mark out the positions
Begin with the door leaf laid flat and supported securely on a workbench or trestles. For a typical door, position the top hinge around 150mm to 175mm down from the top edge and the bottom hinge around 225mm to 250mm up from the bottom edge. This slightly higher bottom position helps account for the extra leverage at the foot of the door.
With three hinges, position the middle hinge centrally between the top and bottom hinges, or slightly above centre for a heavy door. The most important point is consistency. If replacing an existing door in a frame with hinge recesses already cut, mark the new door directly from the frame rather than relying only on measurements.
Hold the hinge against the door edge with its barrel projecting just beyond the face of the door. The hinge pin must be clear of the edge so the door can open freely. Mark around the hinge leaf with a sharp pencil or marking knife, then mark the hinge thickness on the edge. A marking knife gives a cleaner line and helps prevent splintering when cutting the recess.
Cut clean hinge recesses
The hinge leaf should sit flush with the door edge, not proud and not buried too deeply. If it sits proud, the door will bind against the frame. If it is recessed too far, the hinge may pull the door out of alignment and create an excessive gap.
Score around the marked outline, then use a chisel to make a series of shallow cuts across the waste area. Keep the bevel facing into the waste for the initial cuts. Remove thin layers at a time until you reach the required depth, checking regularly by placing the hinge in the recess.
Avoid levering aggressively with the chisel. Timber can split beyond the marked line, particularly on veneered or engineered doors. If you go fractionally too deep, a thin timber shim beneath the hinge can correct it, but it is better to work gradually and stop at the right depth.
Once the recesses are complete, place each hinge in position and drill small pilot holes for the screws. This is particularly worthwhile with hardwood, oak-faced doors and dense fire-door cores, where driving screws without pilots can split the timber or shear the screw head. Fit one screw per hinge initially, leaving the rest until you have tested the door.
Transfer the hinge positions to the frame
The simplest method is to support the door in the opening on wedges at its finished height, with an even clearance around the top and sides. Internal doors commonly need a consistent 2mm to 3mm gap at the head and jambs, but always assess the individual frame, floor finish and door manufacturer’s guidance.
With the door held in its correct position, mark the top and bottom of each hinge onto the frame. Remove the door, transfer the hinge leaf outline to the frame rebate and cut the recesses in the same way as on the door. Check that the hinge barrel will sit proud of the frame stop and has enough room to rotate.
If you are fitting into a new lining, make sure the lining itself is plumb and square before blaming the hinges for poor alignment. A twisted or out-of-square frame can make even perfectly cut hinge recesses appear wrong. In that situation, careful packing behind one hinge can help, but major frame inaccuracies should be addressed before the door is finally fitted.
Hang, test and adjust the door
Bring the door back into the opening, supported on wedges at the correct floor clearance. Fix the hinges to the frame using one central screw in each hinge first. Remove the wedges slowly and test the swing. The door should open and close without scraping, springing back or catching on the frame.
If the leading edge catches at the top, the door may be too high, the frame may be out of square or the top hinge may need slight adjustment. If it catches at the bottom, check the floor clearance and bottom hinge position. A door that closes but sits proud of the frame often has hinge leaves that are not recessed deeply enough.
When the gaps are even and the latch aligns correctly, fit all remaining screws. Use screws of the correct length and gauge for the hinge and door construction. Short or undersized screws may loosen under the weight of the door, while excessively long screws can break through the frame or interfere with adjacent construction.
Do not rely on decorative screw caps or a tight latch to disguise a poorly hung door. Correcting the hinge positions now will prevent worn latch plates, loose screws and damaged door edges later.
Extra care for fire, external and heavy doors
Fire doors should be installed as a tested system, not assembled from assumptions. Check the door label, certification information and manufacturer’s fitting instructions for permitted hinges, screw types, intumescent protection, frame gaps and closer requirements. A fire door that does not self-close fully into its latch may not perform as intended in a fire.
External doors bring different pressures: weight, weather exposure, security and movement in timber. Use hinges rated for the door’s weight and intended use, and ensure the fixing points are sound. For very heavy doors, pre-assembled door sets can reduce fitting risk because the door, frame, seals and compatible ironmongery have been prepared as a coordinated system.
Quality hinges and the right fitting tools are a modest investment compared with replacing a damaged door or correcting a poorly aligned frame. If you are specifying a heavier, fire-rated or design-led door, Door Supplies Online can help you match suitable hinges and ironmongery before installation begins.
For more information about our interior or exterior doors or door accessories, give us a call at 01603 622261 and speak to a member of our expert team today, or email us at sales@doorsuppliesonline.co.uk. We look forward to hearing from you.