
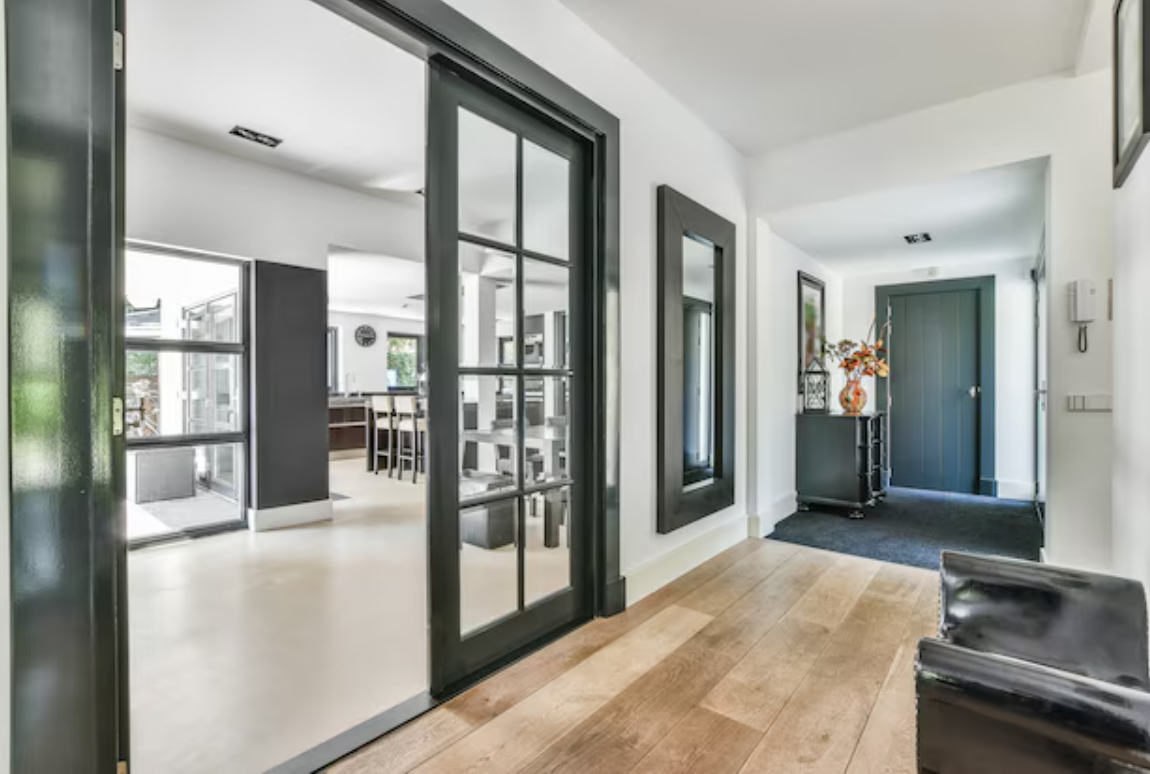
Sliding Doors Installation: A Step-by-Step Guide to Fitting Sliding Doors
Sliding doors installation requires accurate measuring, careful track positioning and proper adjustment. Unlike a conventional hinged door, a sliding door needs sufficient wall or pocket space to move freely, a correctly aligned track and enough clearance around the door leaf.
Getting the track even slightly out of level can cause the door to roll towards one side, become difficult to open or create uneven gaps. Incorrect clearances can also result in the door rubbing against the floor, wall or frame.
Whether you are installing an internal sliding door, a barn-style system, a pocket door or another sliding door mechanism, the basic principle is the same: prepare the opening, measure carefully, install and align the track, hang the door, set the clearances and adjust the hardware.
This guide explains the sliding doors installation process in a practical sequence.
What You Need for Sliding Doors Installation
The tools required depend on the particular sliding door system, but you may need:
- Tape measure
- Pencil
- Spirit level
- Long level where available
- Drill and suitable drill bits
- Screwdriver or driver bits
- Stud finder where appropriate
- Square
- Spanners or Allen keys
- Saw for timber components
- Appropriate wall fixings
- Packers or shims
- Safety glasses
Always check the manufacturer's installation instructions before starting. Track systems can have different fixing requirements, door weight limits, clearances and adjustment mechanisms.
Step 1: Check the Sliding Door System
Before installation, check all components against the manufacturer's instructions.
Depending on the system, you may have:
- Door leaf
- Sliding track
- Rollers or hangers
- Track brackets
- Floor guide
- Stops
- Anti-jump devices
- Fixings
- Handles or pulls
- Soft-close mechanism
- Pocket frame or cassette
Check the door dimensions and maximum permitted weight.
Do not assume that a sliding track is suitable for any door of a similar size. The track, rollers and fixings must be rated for the actual door.
Step 2: Prepare the Opening
Preparation is one of the most important stages of sliding doors installation.
Check the wall and opening before fixing anything.
Look for:
- Uneven walls
- Structural damage
- Existing skirting
- Electrical cables
- Plumbing
- Uneven flooring
- Obstructions
- Insufficient wall space
For a surface-mounted sliding door, you need enough clear wall space for the door to travel across the opening.
For a pocket door, the wall needs to accommodate the pocket frame or cassette and its associated structure.
Do not install directly over services or into unsuitable substrates.
Step 3: Measure the Door Opening
Measure the opening carefully before determining the track and door position.
Check:
- Opening width
- Opening height
- Door width
- Door height
- Door thickness
- Wall thickness
- Available wall space
- Floor level
- Track height
Measure more than once.
The exact overlap between the door and opening depends on the sliding door system. Follow the manufacturer's dimensions rather than applying a universal overlap.
Step 4: Establish the Track Height
The track needs to be positioned at the correct height for the particular door and hardware.
Take into account:
- Door height
- Roller or hanger dimensions
- Required bottom clearance
- Track hardware
- Floor guide
- Any manufacturer's recommended overlap
Mark the intended track position on the wall.
Use a spirit level to create a clear horizontal reference line.
Do not use the ceiling or floor as your only reference because they may not be perfectly level.
Step 5: Locate Suitable Fixing Points
The track must be securely fixed to a suitable structure.
For timber stud walls, identify appropriate structural timber or install suitable reinforcement where required.
For masonry, use fixings appropriate for the wall construction.
The fixing method must support the weight of the complete sliding door assembly.
This is particularly important with heavy timber or glazed doors.
Do not rely on plasterboard alone unless the sliding system has specifically been designed and approved for that installation method.
Step 6: Install the Sliding Door Track
Position the track against the prepared reference line.
Before fully tightening the fixings, check the track with a spirit level.
The track should be straight and level along its full length.
Secure the track according to the manufacturer's fixing pattern.
Avoid relying on a small number of fixings simply because the track appears secure.
The track carries the moving door through the rollers, so its installation needs to be stable and correctly supported.
Track Alignment During Sliding Doors Installation
Track alignment is one of the most critical parts of the installation.
A track that is not level can cause the door to:
- Roll open or closed
- Sit unevenly
- Rub against the floor
- Create inconsistent gaps
- Put additional load on the rollers
- Become noisy during operation
Place the spirit level along different sections of the track rather than checking only one point.
Also check the track from the front to ensure it has not twisted away from the wall.
If the track is incorrectly positioned, correct it before hanging the door.
Step 7: Install the Rollers or Hangers
Fit the rollers, hangers or carriage hardware to the top of the door according to the manufacturer's instructions.
Measure their position carefully.
Incorrectly positioned hangers can cause the door to sit at the wrong height or affect its balance.
Do not drill into the door until you have confirmed:
- Hanger spacing
- Fixing depth
- Door thickness
- Hardware orientation
- Manufacturer's fixing dimensions
For finished timber or veneered doors, protect the surface while working.
Step 8: Hang the Sliding Door
With the track installed and the rollers fitted, carefully hang the door.
Heavy doors may require two people.
Once suspended, move the door slowly along the track.
Check for:
- Smooth movement
- Track noise
- Contact with the wall
- Floor clearance
- Door alignment
- Correct overlap around the opening
Do not force the door if it catches.
Identify where the interference is occurring before making adjustments.
Step 9: Set the Door Level
Once the door is hanging from the track, check whether the door leaf is level.
The top edge should sit consistently relative to the surrounding frame or opening.
Most quality sliding door systems provide some form of roller or hanger adjustment.
Use these adjustments carefully to raise or lower individual sides of the door.
The aim is to achieve:
- A level door
- Consistent clearances
- Smooth movement
- Correct contact with stops
- Proper operation of the floor guide
Step 10: Set the Bottom Clearance
Bottom clearance is particularly important.
The door should not scrape against:
- Flooring
- Carpet
- Thresholds
- Tiles
- Skirting
- Floor guides
The exact clearance depends on the door system and floor condition.
Do not simply set a large gap to guarantee that the door does not rub. Excessive clearance can make the installation look unfinished and may affect the floor guide or stability.
Follow the manufacturer's recommended clearance.
If the floor is uneven, take its highest point into account when setting the door height.
Step 11: Install the Floor Guide
Many sliding doors require a floor guide to control the bottom of the door.
Position the guide according to the manufacturer's dimensions.
The guide should allow the door to move smoothly without creating excessive friction.
Check the guide before final fixing by moving the door backwards and forwards.
If the guide is incorrectly positioned, the door may rub or bind.
Step 12: Set the Door Stops
Door stops control how far the sliding door travels.
Position the stops according to the system instructions.
Check that the door:
- Fully covers the opening when closed
- Does not travel too far
- Does not collide with surrounding objects
- Can open sufficiently
- Does not leave excessive gaps
If a soft-close system is included, make sure the door engages correctly with the mechanism.
Step 13: Adjust the Sliding Door
Final adjustment is an important part of sliding doors installation.
Operate the door several times and observe its movement.
Check:
Door Height
Adjust the rollers or hangers if one side sits higher than the other.
Side-to-Side Position
Check that the door overlaps the opening correctly when closed.
Bottom Clearance
Make sure the door clears the floor throughout its travel.
Floor Guide
Ensure the guide controls the door without causing friction.
Track
Check that the track remains secure and level.
Stops
Confirm that the stops engage at the correct positions.
Make small adjustments rather than making large changes at once.
Common Sliding Door Installation Problems
Sliding Door Rolls by Itself
If a sliding door moves towards one side when released, check whether the track is level.
A sloping track can cause the door to move under gravity.
Recheck the track with a spirit level.
Sliding Door Rubs on the Floor
Possible causes include:
- Door installed too low
- Uneven flooring
- Incorrect roller adjustment
- Incorrect floor guide position
- Door movement caused by loose hardware
Check the manufacturer's specified bottom clearance before adjusting the door.
Sliding Door Is Difficult to Move
Check:
- Track alignment
- Roller adjustment
- Floor guide
- Track cleanliness
- Door weight
- Fixings
- Obstructions
Do not immediately apply lubricant. Some sliding systems use specific roller and track designs that may not require lubrication.
Sliding Door Is Noisy
Noise can be caused by:
- Dirty track
- Damaged rollers
- Misalignment
- Loose hardware
- Door rubbing
- Incorrect floor guide positioning
Clean the track and inspect the rollers before replacing components.
Sliding Door Has Uneven Gaps
Check whether the door itself is level.
If one side is higher or lower, adjust the roller or hanger system if adjustment is provided.
Also check whether the opening or surrounding wall is square.
Sliding Doors Installation Tolerances
There is no universal tolerance that applies to every sliding door system.
Clearances depend on:
- Door thickness
- Door height
- Track design
- Roller system
- Floor condition
- Wall construction
- Floor guide
- Manufacturer's requirements
The manufacturer's installation dimensions should therefore take priority.
For example, the required gap beneath the door can vary considerably between systems. A pocket door system may also have completely different clearances from a surface-mounted barn-style track.
Avoid using generic measurements when the manufacturer's instructions provide specific dimensions.
Surface-Mounted vs Pocket Sliding Door Installation
The installation process changes depending on the system.
| Feature | Surface-mounted sliding door | Pocket sliding door |
|---|---|---|
| Track | Mounted to wall or suitable structure | Integrated into pocket system |
| Wall space | Required beside opening | Door disappears into wall |
| Preparation | Generally simpler | More extensive |
| Floor guide | Often required | Depends on system |
| Services | Need to avoid fixing points | Need to consider inside pocket |
| Adjustment | Roller and track dependent | System dependent |
A surface-mounted system can be useful where you do not want to alter the wall significantly.
A pocket system can provide a cleaner finish but requires more planning and construction.
Sliding Doors Installation for Heavy Doors
Heavy sliding doors place greater demands on the track and roller system.
Before installation, check:
- Maximum door weight
- Roller capacity
- Track capacity
- Fixing requirements
- Door thickness
- Structural support
The supporting structure must be capable of carrying the complete assembly.
Do not exceed the manufacturer's weight rating.
Sliding Doors Installation for Glazed Doors
Glazed sliding doors require additional care because of their weight and the properties of the glass.
Check the complete door specification before selecting the hardware.
Ensure the track and rollers are rated for the finished door weight.
Handle glazed doors carefully during installation and follow the manufacturer's handling instructions.
How to Maintain Sliding Doors
Once installation is complete, regular maintenance can help preserve smooth operation.
Inspect:
- Track
- Rollers
- Hangers
- Floor guide
- Stops
- Fixings
- Handles
- Soft-close mechanisms
Keep the track free from dirt and debris.
If the system manufacturer recommends lubrication, use the specified lubricant rather than applying a random oil or spray.
Check fixing points periodically, particularly on heavily used doors.
Common Sliding Doors Installation Mistakes
Not Checking the Track Is Level
This can cause the door to roll or sit unevenly.
Fixing Into an Unsuitable Wall
The track must be properly supported.
Measuring Only Once
Small measurement errors can create significant problems during installation.
Ignoring Floor Levels
An uneven floor can affect bottom clearance and floor-guide positioning.
Hanging the Door Before Checking the Track
Always verify the track before loading it with the door.
Setting Excessive Clearance
Too much space beneath the door may affect appearance and floor-guide performance.
Tightening Everything Before Alignment
Some systems require adjustment before final tightening.
Ignoring the Door Weight
The track and rollers must be rated for the actual door.
Forgetting the Stops
Without correctly positioned stops, the door may travel too far or fail to cover the opening properly.
FAQs About Sliding Doors Installation
How do you install a sliding door?
Prepare and measure the opening, establish the track position, install suitable fixings, level the track, fit the rollers to the door, hang the door, set the floor guide and adjust the door height and clearances.
Does a sliding door track have to be level?
Yes. The track should normally be accurately level unless the specific system states otherwise. A sloping track can cause the door to move unintentionally.
How much clearance should be under a sliding door?
The correct clearance depends on the particular sliding door system, floor condition and manufacturer's instructions. Always use the specified clearance rather than relying on a generic measurement.
Why is my sliding door rubbing?
Check the bottom clearance, roller adjustment, floor guide and floor level. Also check that the track is correctly aligned.
Why does my sliding door roll open by itself?
A track that is not level is a common cause. Check the track with a spirit level and correct its position if necessary.
Do sliding doors need a floor guide?
Many systems use a floor guide to control the bottom of the door, although the exact arrangement varies. Follow the hardware manufacturer's instructions.
Can I install a sliding door myself?
A competent DIYer may be able to install some standard internal sliding door systems. However, heavy doors, glazed systems, structural alterations and pocket installations require careful planning and may be better handled by an experienced installer.
Final Thoughts
Successful sliding doors installation depends on preparation and accurate adjustment rather than simply attaching a track to the wall.
Measure the opening carefully, check the supporting structure and establish the correct track position before drilling. The track should be level, securely fixed and correctly aligned before the door is hung.
Once the door is installed, set the roller height, bottom clearance, floor guide and stops. Operate the door several times and make small adjustments until it moves smoothly and sits correctly.
For the best result, always follow the specific installation instructions supplied with your sliding door hardware. Different systems have different load ratings, clearances and adjustment methods.
Browse Door Supplies Online for sliding door mechanisms, pocket door systems, tracks, rollers and associated door hardware for your next installation project.