
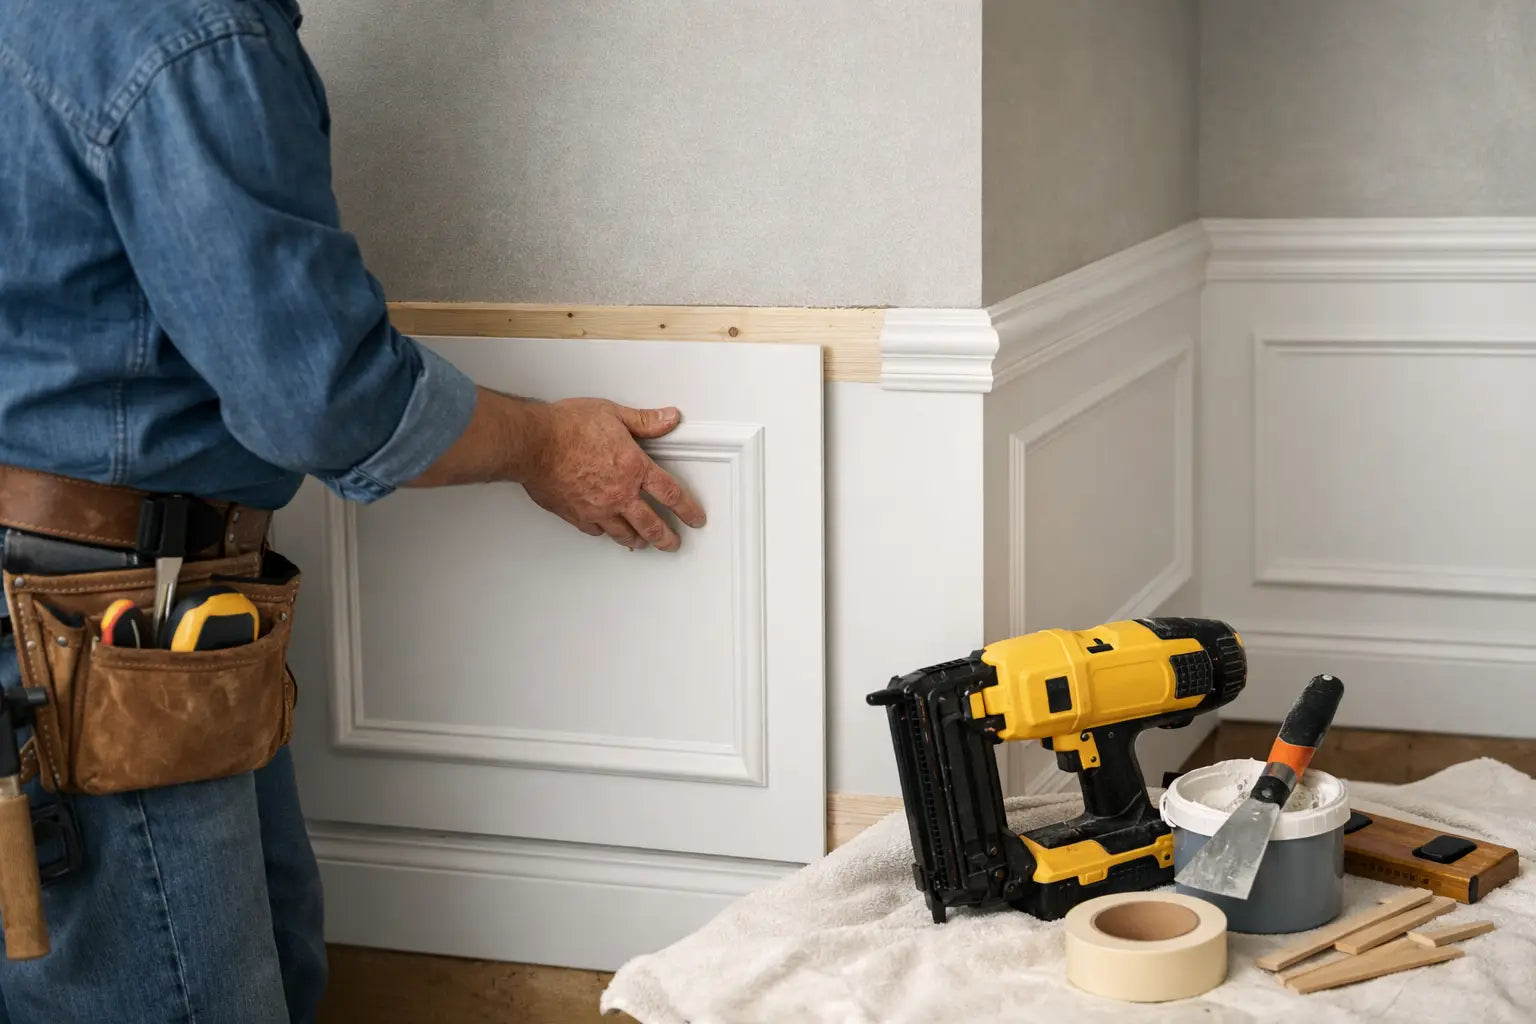
A panelled wall can make an ordinary hallway, bedroom or living room feel more considered - but only if the lines are level, the spacing is consistent and the finish works with the room’s joinery. Knowing how to fit wall panelling properly is less about complicated carpentry and more about careful setting out. Rushing the measuring stage is the usual reason panels look uneven once the paint has dried.
Whether you are fitting a simple shaker-style layout or a more traditional dado-height design, start by deciding where the panelling should sit in relation to doors, skirting boards, switches and existing mouldings. A well-planned feature wall should look intentional, not as though it has been fitted around obstacles.
Choose the right wall panelling material
MDF is the most common choice for painted wall panelling. It is smooth, stable and easy to cut accurately, particularly when using pre-primed MDF strips. Moisture-resistant MDF is the better option for kitchens, utility rooms and other areas where humidity is higher, although it should not be treated as a substitute for properly waterproof bathroom wall finishes.
Softwood or hardwood mouldings can give a more traditional result and may suit period properties, especially where you want to stain or varnish the timber. They cost more and can move slightly with changes in temperature and humidity, so allow the material to acclimatise in the room before fitting it.
The thickness of your battens matters. Slim 6mm MDF produces a subtle, picture-frame effect, while 9mm or 12mm strips create more depth and a stronger shadow line. Deeper sections can look excellent in larger rooms, but may feel heavy in a narrow landing or small box room. Consider how the panelling will relate to door architraves, skirting and any existing coving before committing.
Plan the layout before you cut
The professional-looking part of fitting wall panelling happens before the adhesive comes out. Measure the wall width and height in several places, as walls are not always square. Record the position of sockets, switches, radiators, window reveals and door frames.
For shaker panelling, decide whether you want equal-sized boxes or a layout centred on a key feature, such as a fireplace, bed or doorway. Equal spacing is usually the safest choice, but it is often better to make the two end panels slightly narrower than to leave one noticeably awkward final section.
Mark the proposed design on the wall with a pencil and long spirit level. Painter’s tape is useful for visualising the finished proportions before you cut anything. Stand back and view it from the doorway. This simple check can reveal that a dado rail is too high, or that a vertical batten will land too close to a light switch.
Work around skirting boards and architraves
You have two main options at the bottom of the wall. Panelling can sit directly on top of the existing skirting board, which is quicker and works well with shallow MDF strips. Alternatively, remove and replace the skirting after fitting the panels for a more integrated finish.
If the wall includes a door frame, keep the panel thickness below the projection of the architrave where possible. This avoids an untidy junction. Where new decorative mouldings are being added, selecting profiles that complement your existing door frames and architraves will make the whole scheme feel coordinated.
Tools and materials you will need
A reliable tape measure, pencil, combination square, long spirit level, mitre saw or fine-tooth saw, grab adhesive, decorator’s caulk, filler and sanding block will cover most installations. A laser level makes setting out faster on wide walls, but it is not essential.
For fixing, use a high-grab adhesive suitable for MDF and your wall surface. Pins or brad nails can hold longer pieces while the adhesive cures, particularly on uneven walls, but they should not be relied upon as the only fixing. Use a stud detector before nailing or screwing into a wall, and isolate electrical circuits if you are working close to sockets or switches.
How to fit wall panelling step by step
Prepare a sound, clean surface
Remove loose wallpaper, flaking paint, picture hooks and protruding fixings. Fill large holes and sand down high spots. Panelling will not correct a badly uneven wall - it will follow the surface beneath it.
Fresh plaster should be fully dry before adhesive is applied. On very dusty, chalky or porous paint, use an appropriate primer or sealer first. Adhesive bonds are only as good as the surface they are attached to.
Fit the horizontal rails first
If your design includes a top rail, dado rail or base rail, fit these before the vertical pieces. Mark a level line across the wall and check it against nearby architectural details. Do not assume the ceiling, floor or existing skirting is level.
Cut the rail to length, apply adhesive in vertical beads or a zig-zag pattern, then press it firmly into position. Avoid spreading adhesive right to the edges, as excess can squeeze out and make finishing harder. Check it with a spirit level before the adhesive grabs.
Where two lengths meet on a long wall, make a clean square joint and position it where it is least noticeable. Lightly sand any raised edge once the adhesive has cured.
Set out and fix the vertical battens
Measure between the horizontal rails for every vertical piece. Even if the rails were cut accurately, each opening can vary slightly on an imperfect wall. Cut each batten individually rather than producing a full batch from one measurement.
Start with the central vertical or the two outer verticals, depending on your layout, then work outwards. Use a spacer block cut to the required width to keep each panel opening consistent. Apply adhesive, press the batten into place and check it is plumb with a spirit level.
If you are using pins, keep them away from the edges and countersink them slightly. Once dry, fill the holes with a suitable wood or MDF filler. On masonry walls, adhesive alone is often sufficient if the surface is sound, although heavier solid timber sections may need mechanical fixings as well.
Deal carefully with sockets and switches
Do not simply fit strips over electrical accessories. Mark their position precisely and plan the layout so battens finish neatly beside them where possible. If panelling needs to pass around an accessory, the faceplate may need extending with an approved accessory box extender so it remains flush with the finished wall surface.
Electrical alterations should be completed by a competent person. This is one area where a tidy-looking shortcut can create a safety issue.
Fill, caulk and paint for a crisp result
Once the adhesive has cured, fill pin holes, joints and any small gaps at the ends of mouldings. Sand the filler smooth using fine-grit abrasive. Run a narrow bead of decorator’s caulk along the panel edges where they meet the wall; smooth it immediately with a damp finger or profiling tool.
Caulk is for fine movement gaps, not large voids. If a wall bows significantly, forcing caulk into a wide gap may crack later. In that case, pack or scribe the timber correctly, or accept that the wall needs remedial work before panelling is fitted.
Prime any bare MDF edges, even if the face is pre-primed. These edges absorb paint readily and can look rough without an extra coat. A durable water-based eggshell or satinwood paint is a popular choice because it is wipeable and highlights the moulding profile without the high shine of gloss.
Painting the panelling and wall in the same colour gives a calm, architectural look. A darker shade below a dado-height rail can add depth to a hallway, while a contrasting colour works well behind a bed or in a dining space. Test sample colours in daylight and artificial light before painting the complete wall.
Where wall panelling needs extra care
Do not fix decorative panelling directly to a fire door, fire-resisting partition or protected escape route without checking the relevant specification. Drilling, pinning or adding combustible decorative materials can affect a door’s fire performance and certification. Fire doors should remain as tested, including their leaf, seals, frame, hinges and self-closing arrangement.
Similarly, take care in bathrooms and around external walls prone to condensation. Moisture-resistant MDF helps, but good ventilation and sound decoration are still essential. For rooms with persistent damp, resolve the underlying cause first rather than covering it with panelling.
Wall panelling rewards precision more than speed. Take time to centre the layout, use mouldings that sit comfortably alongside your doors and skirting, and finish every edge properly. The result is a durable feature that can make even a simple internal door and hallway feel part of a more carefully specified interior.
For more information about our interior or exterior doors or door accessories, give us a call at 01603 622261 and speak to a member of our expert team today, or email us at sales@doorsuppliesonline.co.uk. We look forward to hearing from you.