
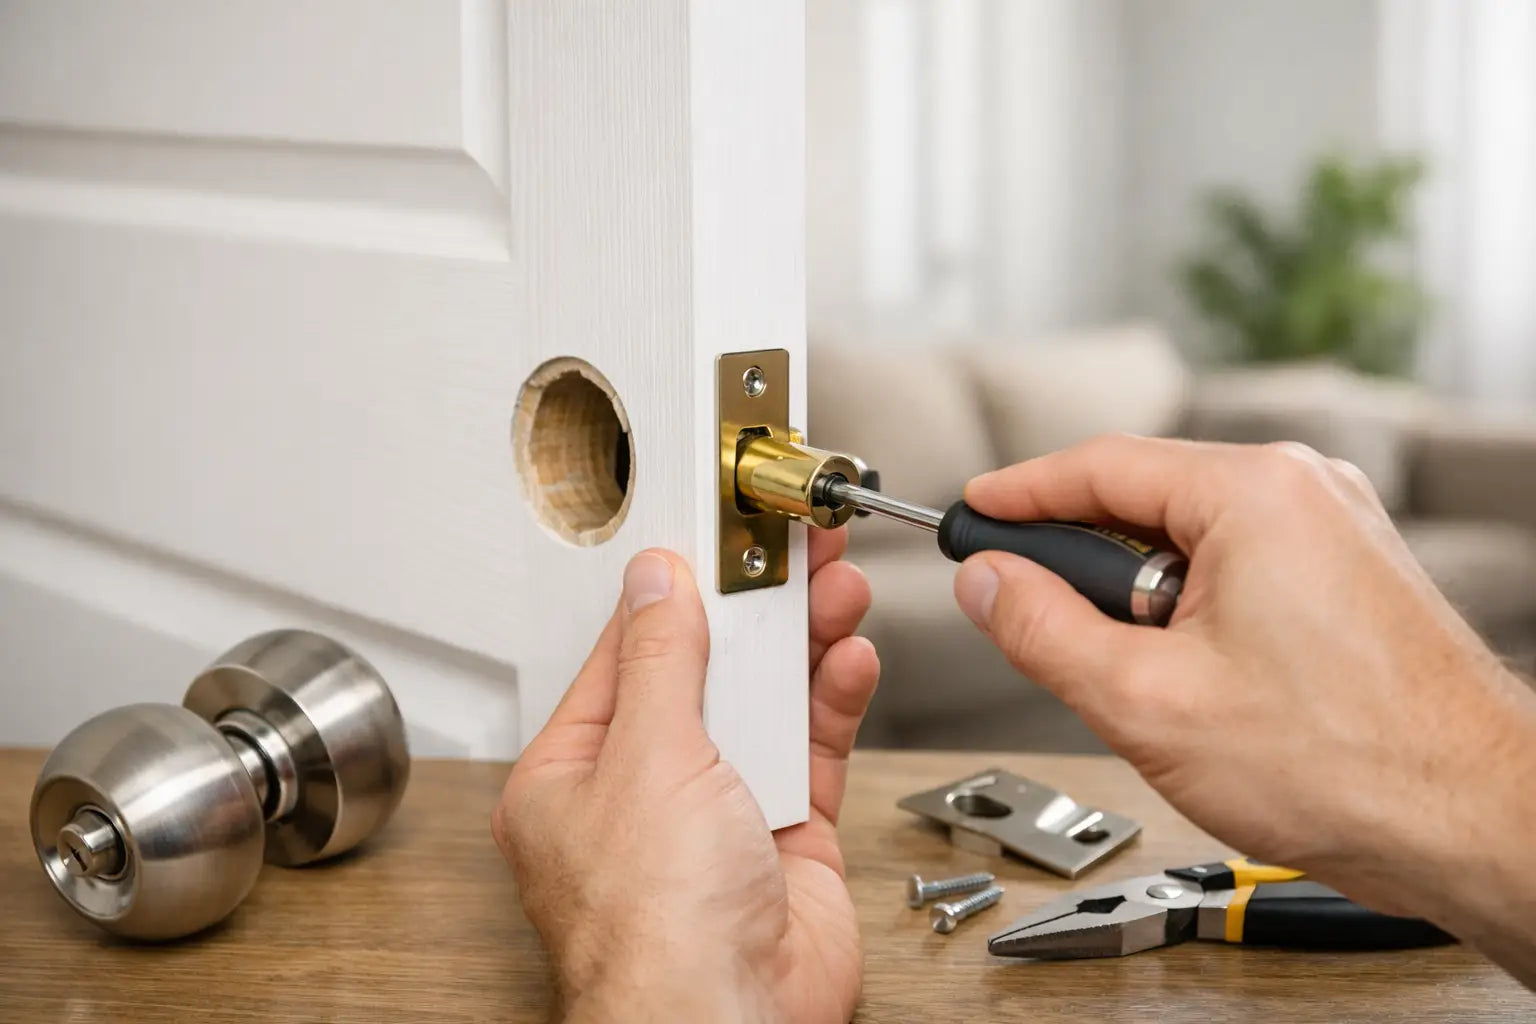
A latch that will not catch properly can turn a perfectly good door into a daily frustration. If you're researching how to replace door latch hardware, the key is to choose a replacement that matches the existing door and handle setup, rather than selecting a similar-looking product. The latch type, backset, faceplate, case size and handle arrangement all need to be compatible so the door closes smoothly and the latch engages correctly.
For most internal timber doors, replacing a tubular mortice latch is a relatively straightforward DIY task using basic hand tools. Before removing the existing latch, measure the backset, latch case and faceplate dimensions and check that the replacement matches the existing handle and spindle position. Accurate measurements can help avoid unnecessary alterations to the door or frame.
External doors, multipoint locking systems and fire doors require greater care. The wrong replacement latch or incorrect fitting method can affect door security, closing performance and fire-door compliance. Where the hardware forms part of a certified or security-rated doorset, always check the manufacturer's specification before making changes.
Whether you're replacing a worn latch or fixing a door that won't close properly, choosing the correct door latch hardware and fitting it accurately will help ensure reliable operation and a clean, professional finish.
First, identify the latch you are replacing
Remove one handle or lever rose and look at the mechanism within the door edge. A standard internal latch is usually a tubular mortice latch: a spring-loaded bolt housed in a cylindrical case, operated by a spindle through the handle. It may have a rectangular faceplate fixed to the door edge with two screws.
Some doors use a sashlock, which combines a latch and key-operated deadlock in one case. A bathroom lock normally combines a latch with a separate privacy bolt. An external front door may have a night latch, a euro cylinder lock, or a multipoint lock running along the door edge. These are not interchangeable with a simple internal tubular latch.
Before ordering anything, establish whether your door is an internal door, entrance door, fire door or part of a communal or commercial setting. This determines the level of hardware specification required.
Measure before you buy a replacement
The most common reason a new latch does not fit is an incorrect backset. The backset is the distance from the door edge to the centre of the spindle hole. On UK internal doors, 44mm and 57mm backsets are common. Latches are also often described by their overall case length, such as 64mm or 76mm.
Measure from the front edge of the door to the centre of the handle spindle. Then measure the length and width of the faceplate on the door edge, the diameter of the existing latch bore, and the door thickness. Taking the old latch out first is often the safest way to confirm every dimension.
It is worth checking the handing of the latch bolt too. Most quality tubular latches have a reversible bolt, allowing them to suit either a left- or right-hung door. The bevelled side of the bolt must face the strike plate in the frame. If it faces the wrong way, the door will resist closing and may damage the latch or frame over time.
Choose a latch that suits the door and handles
A latch must work with the furniture fitted to the door. Lever handles on a backplate often need a standard spring latch, while unsprung lever handles on roses may require a stronger heavy-duty latch to return the lever properly. Door knobs generally need a latch designed for knob operation, as their turning action places different pressure on the mechanism.
Consider finish as well as function. A visible faceplate should coordinate with the handles, hinges and strike plate, whether you are specifying polished chrome, satin brass, matt black or antique brass. For a renovation involving several doors, using matching ironmongery creates a more considered result than replacing components one at a time in mixed finishes.
For a frequently used door, choose a good-quality latch rather than the lightest budget option. A heavier latch case and stronger spring generally give a more positive action, although an overly strong spring can make a lightweight door harder to operate.
Fire doors need compatible, tested hardware
Do not treat an FD30 or FD60 fire door as a standard internal door. The latch, handles and intumescent protection, where specified, should be suitable for the door set and installed in line with the manufacturer’s instructions. Cutting a larger mortice, changing the hardware position or omitting intumescent material can compromise the door’s fire performance.
If the door carries a fire door label, forms part of a protected escape route, or is in a flat entrance or commercial building, seek advice from a competent installer or the door set manufacturer before changing the latch. A like-for-like, compatible replacement is usually preferable to adapting the door for a different size.
Tools you will need
For a straightforward tubular latch replacement, prepare a screwdriver, tape measure, pencil, bradawl, drill, suitable wood drill bits and a sharp chisel. A cordless drill is useful, but work slowly around the door edge to avoid splintering the timber or drilling too deeply.
Keep the old screws until the new latch is test-fitted. The supplied screws may be too long for a narrow stile, particularly on glazed internal doors where careless fixing could reach the glass aperture.
How to replace a door latch step by step
1. Remove the handles and old latch
Open the door and remove the handle screws. Pull the handles away, slide out the spindle, then undo the two screws holding the latch faceplate to the door edge. The latch should pull out through the edge bore. If paint has sealed the faceplate in place, carefully score around it with a utility knife first.
2. Compare the old and new components
Place both latches side by side. Check the backset, body diameter, faceplate size and spindle follower position. A new latch that is slightly shorter may work, but a larger body or faceplate can mean enlarging the existing mortice and leaving exposed timber around the edge.
Where possible, select a replacement that uses the existing preparation. It is quicker, neater and less likely to weaken the door edge.
3. Test-fit the latch body
Slide the new latch into the door without screws. The faceplate should sit flush with the door edge and the spindle follower should line up with the handle holes. Do not force it. If the body binds in the bore, remove it and lightly pare the timber with a chisel rather than crushing it into place.
4. Check the latch bolt direction
Turn or release the bolt, depending on the latch design, so its bevelled edge faces the door frame and strike plate. Test this before fitting the screws. It is a small detail that prevents a frustrating rework once the handles are back on.
5. Mark and drill pilot holes
With the faceplate flush, mark the screw positions using a pencil or bradawl. Drill shallow pilot holes to reduce the risk of splitting, especially near the edge of a solid oak or engineered door. Fit the latch with its screws, tightening them firmly but not so hard that the faceplate distorts.
6. Refit the spindle and handles
Pass the spindle through the follower, then fit each handle. Tighten the fixing screws evenly and check that the handle returns to its horizontal position. If it droops, the latch spring may be too light for the handles, the spindle may be binding, or the handle fixings may be overtightened.
7. Inspect the strike plate in the frame
Close the door slowly and watch where the latch bolt meets the strike plate. The bolt should enter the keep without lifting, scraping or needing a push on the handle. If it is catching high or low, the issue may be door alignment rather than the new latch.
Minor adjustment can involve filing the strike plate opening or repositioning the plate. Only do this where the misalignment is slight. A door that has dropped significantly may need hinge adjustment, longer hinge screws into sound timber, or frame repair instead.
8. Carry out a final closing test
Operate the handles several times with the door open, then close and latch the door repeatedly. Check from both sides, as loose roses or backplates can sometimes bind only when the door is shut. The finished action should be positive, quiet and secure, with no need to slam the door.
When replacing the latch will not solve the problem
A latch is often blamed when the real fault sits elsewhere. Seasonal movement can swell a timber door, loose hinges can cause it to drop, and a badly positioned strike plate can stop an otherwise sound latch from engaging. If the latch works smoothly while the door is open but fails only when closed, inspect alignment before buying replacement parts.
Likewise, a loose or rattling door may need the keep adjusted rather than a new latch. On external doors, failed locking, cylinder or multipoint mechanisms should be assessed as a complete security issue, not repaired by fitting an internal-style latch.
Door Supplies Online stocks latch and handle options for routine replacements as well as hardware suited to more considered door upgrades. Matching the specification to the door at the start will save time on site and give your finished door the dependable closing action it should have.
For more information about our interior or exterior doors or door accessories, give us a call at 01603 622261 and speak to a member of our expert team today, or email us at sales@doorsuppliesonline.co.uk. We look forward to hearing from you.