
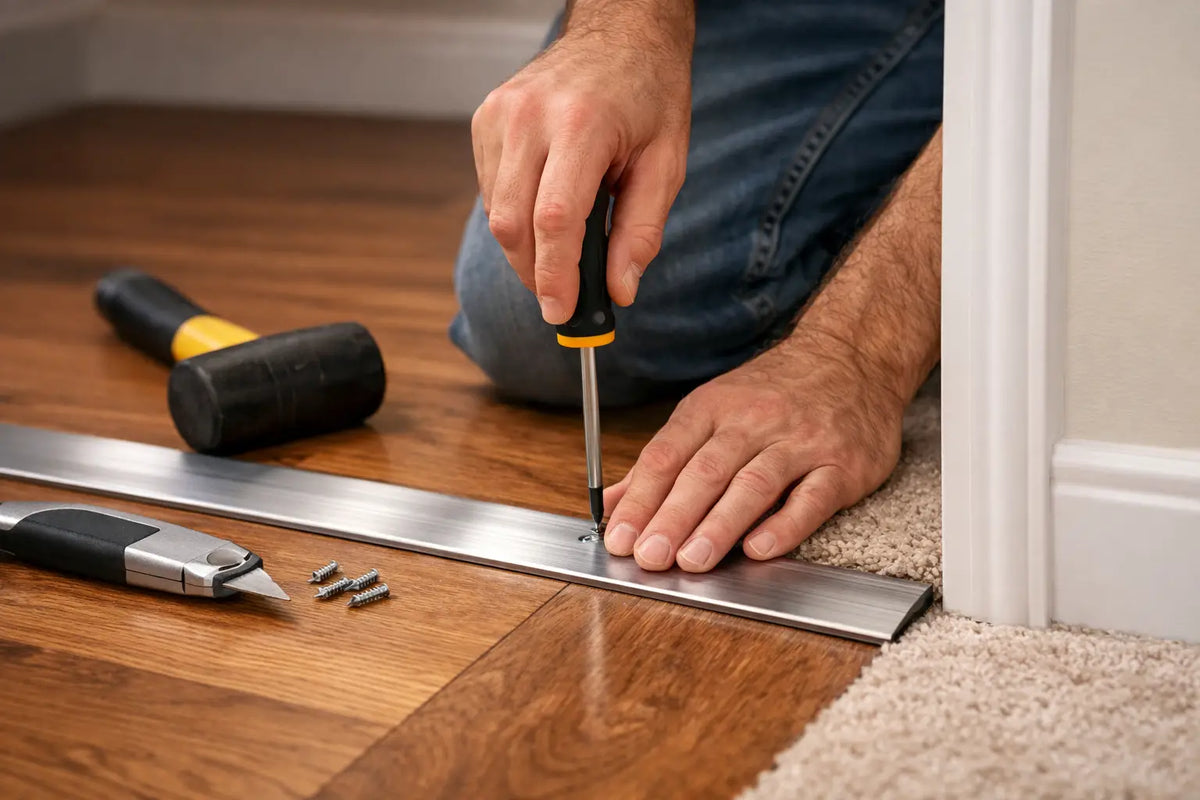
A threshold is a small but important detail that can have a big impact on a finished doorway. Knowing how to install door thresholds correctly helps close untidy gaps beneath the door, protect exposed floor edges and create a clean transition between rooms or from inside to outside. Getting the height, profile or fixing method wrong, however, can cause the door to scrape, leave the door threshold loose or allow water to penetrate beneath an external door.
The correct door threshold installation starts with choosing a threshold that is suitable for the door, flooring and location. An internal oak threshold between two timber floors requires a different approach from an aluminium weather bar fitted beneath a composite front door. Internal door thresholds are primarily used to create a neat transition between different floor surfaces, while external door thresholds can also help manage weather, draughts and water.
Before installation, measure the doorway carefully, check the finished floor levels and prepare the opening properly. The threshold should be positioned so the door can open and close freely without catching. Where a threshold forms part of a fire door assembly, always follow the manufacturer's installation instructions and the relevant certification requirements rather than treating it as a standard finishing strip.
Taking the time to select the correct threshold and install it accurately will help create a cleaner finish, improve day-to-day operation and ensure the doorway performs as intended.
Choose the right threshold before fitting
Door thresholds are available in a range of materials and profiles, each intended for a particular job. Internal thresholds are commonly made from oak, unfinished hardwood, MDF or aluminium. They bridge a change in floor finish, cover the expansion gap around flooring and make adjoining rooms look properly finished.
External thresholds need to do more. They may form part of the weather seal beneath an entrance door, direct surface water away from the building and provide a durable edge at a high-traffic opening. Aluminium and hardwood are popular choices, while some door sets use purpose-made cills, low-level access thresholds or integrated weather bars.
The floor levels on both sides of the door are the deciding factor. If they are equal, use a flat or lightly rounded cover threshold. If one floor is higher, choose a ramped or reducer profile that removes a sharp step. A badly chosen profile is not merely cosmetic - it can become a trip risk and may stop the door from opening freely.
For an external door, check how the threshold works with the frame, cill, weathering detail and drainage. Do not assume a standard internal strip can be used at an entrance door. Where a threshold is supplied as part of a pre-assembled door set, fit the components as specified rather than substituting them.
Tools and materials for installing door thresholds
Most installations require a tape measure, pencil, combination square, mitre saw or fine-tooth handsaw, drill, suitable bits, screwdriver, adhesive and fixings. You may also need a multi-tool for trimming flooring, a masonry drill for concrete subfloors, packers for levelling and a sealant gun for external work.
Use fixings that suit both the threshold material and the subfloor. Wood screws are appropriate for timber, while concrete screws or plugs and screws are normally needed for solid floors. For underfloor heating, avoid drilling until you have confirmed the pipe or cable layout. In many cases, a compatible high-grab adhesive is the safer fixing method, but it must be suitable for the threshold material and the substrate.
How to install door thresholds step by step
1. Check the door clearance and finished floor levels
Open and close the door before cutting or fixing anything. Measure the gap beneath the door at several points, particularly where floors are uneven. The threshold must sit below the door’s sweep while still covering the floor edges or gap it is intended to conceal.
Remember that the finished floor level includes underlay, adhesive and any final floor covering. A threshold fitted before carpet, laminate or engineered timber is complete can end up too low or too high. If flooring is still to be laid, establish its final thickness first and leave the correct expansion allowance where required.
External doors require extra care. The door should clear the threshold without leaving an excessive gap that undermines weather performance. Follow the door manufacturer’s installation instructions where these are available, especially for aluminium, steel, composite or fire-rated entrance doors.
2. Measure the opening and cut the threshold accurately
Measure between the door linings or frame legs at the precise point where the threshold will sit. Measure more than one place, as older openings are not always square. Mark the cut line with a pencil and square, then cut gradually and test-fit before making any further adjustment.
For a natural timber threshold, consider the direction of the grain and place the cleanest face where it will be most visible. Use a fine blade to reduce splintering, especially on veneered products or aluminium profiles with visible finished edges. Lightly sand a timber cut end before sealing it.
A threshold should fit neatly without being forced into place. Tight pressure against a frame can cause timber to expand and buckle, while an overly short piece leaves a visible gap that collects dirt. If the wall or lining is irregular, scribe the threshold rather than filling a large gap with sealant.
3. Dry-fit and prepare the subfloor
Place the cut threshold in position and check it from both rooms. Look for rocking, open gaps beneath the profile and any point where it interferes with the door. A threshold should sit fully supported, not bridge a hollow in the subfloor.
Remove dust, old adhesive, loose grout and raised flooring debris. On concrete, scrape away high spots and repair significant voids before fixing. On a timber subfloor, ensure boards are secure and level enough to support the full length of the threshold. Small adjustments can be made with suitable packers, but packing should not be used to disguise a poorly prepared floor.
If the threshold joins laminate or engineered flooring, confirm the manufacturer’s required expansion gap. The threshold is there to cover that gap, not clamp a floating floor in place. Fix it to the subfloor or one stable side of the opening, depending on the profile and flooring system.
4. Fix the threshold without damaging the finish
For screw-fixed timber thresholds, mark fixing points evenly along the length, usually keeping them clear of the ends to reduce the risk of splitting. Drill pilot holes and countersink them so the screw heads sit just below the finished surface. Fix gradually, checking that the threshold remains straight as you work.
Where plugs and screws are needed in concrete, drill through the threshold only if the product is designed for visible mechanical fixing. Otherwise, mark through the fixing holes, remove the threshold, drill the floor and then install the plugs. This gives a cleaner result and reduces the chance of damaging the threshold during drilling.
Adhesive-fixed thresholds can provide a tidy finish with no visible screws. Apply the adhesive in controlled beads or as directed by the manufacturer, press the threshold firmly into place and weight it if necessary while it cures. Do not use adhesive alone where the threshold will be subject to heavy movement, where the subfloor is dusty or weak, or where the product instructions require mechanical fixing.
For aluminium thresholds, use the supplied screws, cover caps or fixing channels where provided. Over-tightening can distort a slim profile, so tighten only enough to secure it firmly against the floor.
5. Seal external thresholds properly
An external threshold should not rely on sealant as its only defence against rain. Its profile, fall and relationship with the sill should direct water away from the doorway. Sealant is used to close appropriate joints, not to block drainage channels or weep paths.
Apply a suitable exterior-grade sealant at junctions specified by the threshold or door system manufacturer. Ensure both surfaces are clean and dry, and tool the bead neatly. Avoid sealing beneath areas intended to drain, and never fill drainage slots in an aluminium threshold.
Timber used externally should be suitably durable and finished on every face, including the cut ends and underside where accessible. End grain absorbs moisture quickly, so it needs particular attention before fitting.
Thresholds at fire doors and access doors
Fire doors are a compliance-led product, not a standard internal door with upgraded hinges. The threshold detail can affect smoke control, clearance and the performance of intumescent or drop seals. Do not fit a raised timber threshold to a fire door simply to cover a floor gap unless the door set specification allows it.
Where smoke protection is required, a threshold seal, drop seal or tested threshold arrangement may be necessary. The permitted gap beneath a fire door depends on the door assembly and seals fitted. Check the relevant installation information and, for commercial or multi-occupancy properties, seek competent advice where the specification is unclear.
Low-level and wheelchair-accessible thresholds also need careful selection. A shallow, ramped profile may improve access, but it must still work with the door’s weatherproofing and security arrangement. This is particularly relevant at new-build entrances, patio doors and flat access doors.
Common fitting mistakes to avoid
The most common error is measuring the opening before the final flooring is installed. The next is fixing through a floating floor, which prevents normal movement and can cause lifting or gapping later. It is also easy to overlook door clearance after adding a thicker threshold.
Externally, poor sealing, blocked drainage and untreated timber cut ends are frequent causes of premature failure. Internally, using a reducer where a flat cover profile is needed can leave an unnecessary ridge underfoot. Take the time to test the door and inspect the threshold from both sides before the adhesive cures or every screw is fully tightened.
A well-fitted threshold should look like it belongs to the doorway rather than an afterthought added to hide a gap. If you are matching new doors, frames, flooring trims and ironmongery across a renovation, selecting coordinated finishing products from a specialist range makes that final detail far easier to get right.
For more information about our interior or exterior doors or door accessories, give us a call at 01603 622261 and speak to a member of our expert team today, or email us at sales@doorsuppliesonline.co.uk. We look forward to hearing from you.