
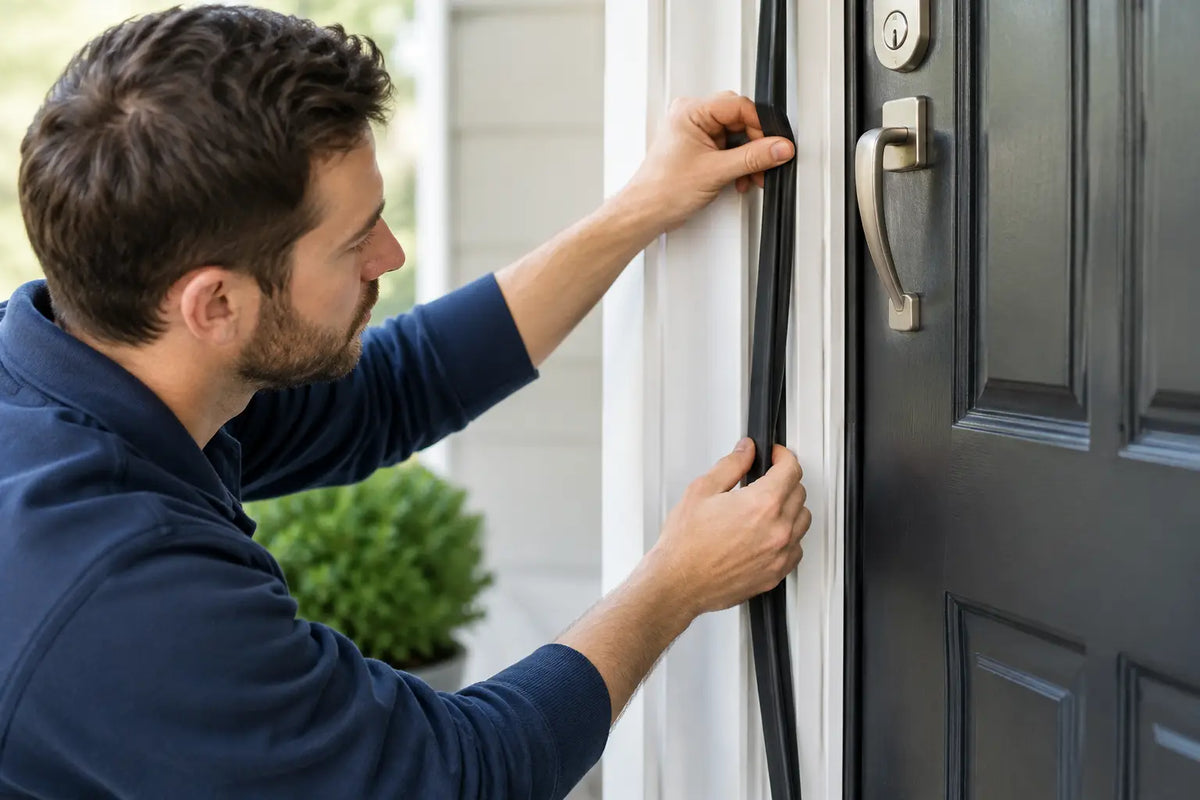
A cold draught around an external door does not always mean the entire door needs replacing. In many cases, the problem can be resolved by replacing worn door weatherstripping that has become flattened, split, shrunk or detached from the frame. Installing the correct door weather seal can help reduce draughts, prevent wind-driven rain from entering and improve comfort throughout your home.
Choosing the right external door weatherstrip is essential for achieving an effective seal without affecting the door's operation. A seal that is too thin may leave gaps where cold air can enter, while one that is too thick can make the door difficult to close, place unnecessary pressure on hinges and locks, or affect the alignment over time.
Before ordering replacement door seals, identify exactly where the draught is coming from and check the type of door and frame you have. Weatherstripping requirements can vary depending on whether you are sealing the sides, top or bottom of an external door. Understanding the different types of door weather seals and draught excluders will help you choose the right product, improve insulation and maintain a comfortable, energy-efficient home.
When should you replace door weatherstrip?
Weatherstrips do not always fail dramatically. More often, rubber and foam seals lose their shape after repeated compression, while adhesive-backed strips can lift at corners or become brittle in sunlight. Timber doors may also move slightly between seasons, leaving gaps that were not present when the seal was first fitted.
Typical signs include a visible gap between the door and frame, movement in a hanging curtain near the door, daylight around the edges, rattling in windy weather or rain marks on the internal face of the frame. You may also find that outside noise is more noticeable than before.
Check the top and both vertical sides first, then inspect the threshold. Do not assume every gap needs the same product. The sides and head of a door are commonly sealed with compression, brush or fin seals, while the bottom edge may need a threshold seal, door bottom seal or drop seal depending on the door construction and floor finish.
Identify the door and existing seal
The right replacement depends on whether the door is timber, composite, uPVC, aluminium or steel, as well as whether it opens inwards or outwards. A routed-in gasket, for example, must be replaced with a compatible profile that fits the existing groove. It cannot simply be substituted with self-adhesive foam.
For a timber external door, look for a seal fixed to the frame stop or set into a groove in the frame. For aluminium, composite and uPVC doors, the weather gasket is often part of a designed system and may have a specific shape, thickness and fixing arrangement. If the original seal is available, remove a short undamaged sample or take clear measurements before selecting a replacement.
Measure the gap with the door shut but not locked. A simple method is to use a stack of feeler gauges, or to close the door on thin card in several positions. The card should grip lightly and consistently. If it falls freely at one point but jams elsewhere, the issue may be door alignment rather than the weatherstrip alone.
Check hinges, keeps and threshold first
A dropped or warped door can create a draught at the top corner and excessive compression at the bottom. Replacing the seal without correcting the alignment usually gives poor results. Tighten loose hinge screws, inspect the frame for movement and check whether the latch and lock pull the door evenly into the frame.
On multipoint-locking external doors, correct adjustment of the keeps can improve compression around the perimeter. This is a job to approach carefully: forcing the door tighter against an unsuitable seal can make locking difficult and cause premature wear to the mechanism.
Choose a weatherstrip that suits the gap
Compression seals are a popular choice for regular gaps around timber doors. They are commonly made from EPDM rubber, silicone or flexible PVC, and they compress when the door closes. Quality rubber or silicone generally lasts longer than basic foam, particularly on doors exposed to sun, rain and frequent use.
Brush seals use closely packed bristles and are useful where surfaces are uneven or where a sliding door needs to move freely. They can reduce draughts and dust, but they do not normally provide the same rain resistance as a well-fitted compression seal.
Self-adhesive foam is quick to install and can be useful for a temporary improvement on a sheltered internal porch door. It is less suitable for a primary external entrance door, especially where the frame is damp, painted poorly or exposed to weather. Adhesive failure is common when the surface has not been cleaned thoroughly.
For the threshold, choose a product suited to the floor type and door swing. A surface-mounted threshold seal may suit a timber door over a flat sill, while an automatic drop seal can be a neater option where a fixed threshold would create an obstruction. Consider drainage carefully on outward-opening external doors. Water should be directed away from the building, not trapped against the door bottom.
Tools and preparation for a clean installation
Most straightforward replacements need only a few basic tools:
- A tape measure and pencil
- A sharp utility knife or fine-tooth saw, depending on the seal
- A scraper or plastic trimming tool
- Cleaning cloths and a suitable degreaser
- Screws and a drill if fitting a mechanically fixed seal or threshold
Open the door fully and remove the old strip without damaging the paint, veneer or frame finish. Scrape away old adhesive, then clean the fixing surface until it is dry and free from dust, wax and loose paint. This preparation is particularly important for adhesive-backed products. A seal is only as reliable as the surface beneath it.
If the frame needs repainting, allow the paint to cure fully before applying adhesive strip. Fresh paint may feel dry but still release solvents that weaken the bond.
How to fit replacement weatherstrip
Start at the hinge side or top of the frame and work methodically. For a compression strip, position it so the door presses into the seal as it closes, rather than scraping across it. The aim is gentle, even compression around the perimeter.
With adhesive-backed strip, peel back only a short section of liner at a time. Press the strip firmly into position without stretching it. Stretching can cause the seal to shrink back later, leaving a gap at the corner. Cut each length accurately and butt the ends closely together rather than overlapping them, unless the manufacturer specifies otherwise.
For screw-fixed seals, drill small pilot holes where required and use the supplied or suitable corrosion-resistant fixings. Do not overtighten screws, as this can deform the carrier and prevent the seal from sitting evenly.
Once installed, close the door gently and check the fit. It should latch and lock without excessive force. Test several points with a strip of paper, and inspect the external face after rain where possible. If the door needs to be slammed or the lock becomes stiff, the strip is probably too thick or positioned too far forward.
Do not seal drainage paths
Many modern external door systems have drainage channels and weep holes built into the threshold or frame. These allow water that reaches the outer frame to escape safely. Never cover them with sealant, foam or a poorly positioned weatherstrip. Blocking drainage can lead to water pooling, staining and damage to the surrounding frame or floor finish.
Fire doors need a different approach
Do not treat a fire door like a standard external door. FD30 and FD60 doorsets rely on tested components, correct clearances and compatible seals to achieve their stated performance. A general-purpose weatherstrip may interfere with the self-closing action, change the perimeter gap or compromise smoke control.
Where a fire door requires sealing, use products specified for that particular doorset and application. Intumescent strips expand in heat to help close gaps during a fire, while combined intumescent and smoke seals may be required where smoke leakage control is part of the specification. These are not interchangeable with ordinary draught strips.
If you are responsible for a communal entrance, flat entrance, commercial property or any fire-rated doorset, check the door manufacturer’s information and seek competent advice before making changes. In these settings, compliance takes priority over a quick draught-proofing fix.
A small repair with a noticeable payoff
Replacing a worn seal is a modest job, but it rewards careful measuring and product choice. Fit a weatherstrip that matches the door, the gap, and the opening's exposure, then make sure the door still closes, locks, and drains as intended. For replacement doors, frames, thresholds and specialist fire door components, Door Supplies Online can help you source products that suit both the finish you want and the performance your property requires.
For more information about our interior or exterior doors or door accessories, give us a call at 01603 622261 and speak to a member of our expert team today, or email us at sales@doorsuppliesonline.co.uk. We look forward to hearing from you.