
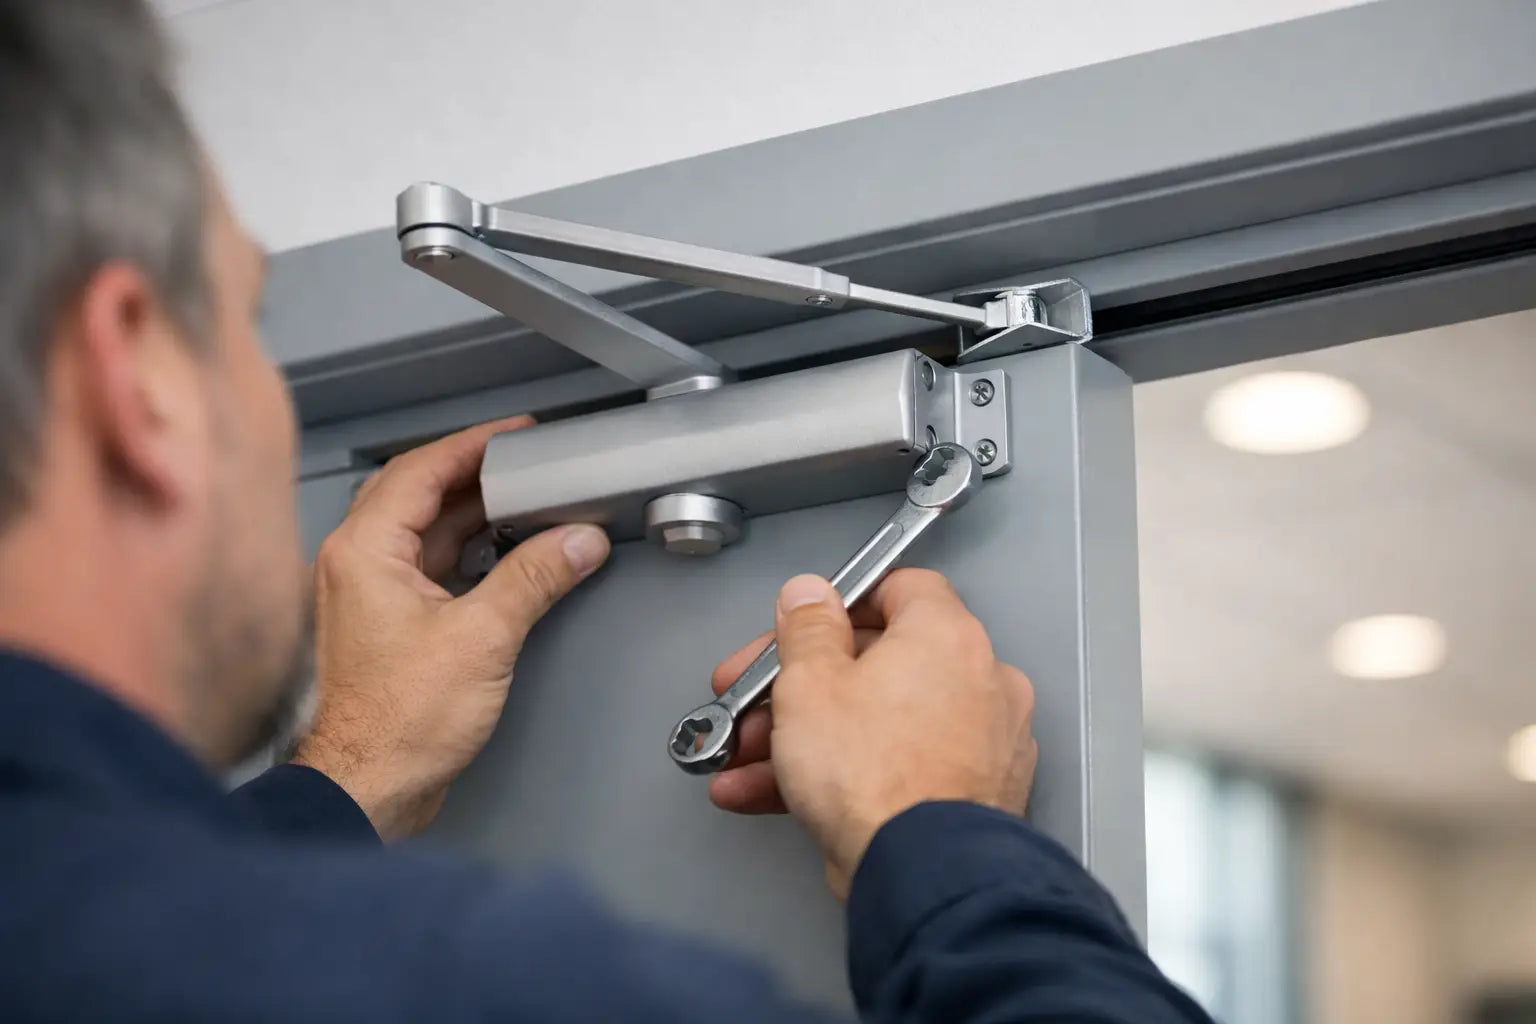
A door that bangs shut, drifts open or needs to be pulled firmly closed is more than an inconvenience. It can damage the door frame and ironmongery, reduce privacy, create an obstruction or, in the case of a fire door, affect an important part of the building's fire protection. Knowing how to fit door closers correctly involves choosing compatible hardware, positioning it accurately and testing the completed installation rather than simply fixing a closer to the door.
For a standard internal door, a surface-mounted overhead door closer can be a relatively straightforward installation for a competent DIYer or joiner. However, fire doors, communal entrance doors and commercial doors require greater care and should be specified and installed in accordance with the relevant requirements.
The door closer, hinges, latch, seals and frame all need to work together correctly. Before installation, check the door weight and width, opening direction, closer power size and manufacturer's fixing instructions. Once fitted, test that the door closes smoothly, latches correctly and does not slam or require excessive force to open.
For fire-rated doors, always follow the door and closer manufacturer's installation instructions and ensure the complete doorset remains suitable for its intended fire-performance specification.
Choose the right door closer before fitting it
The best fitting method depends on the closer type. The most common option is an overhead hydraulic door closer with a body, articulated arm and fixing template. It is practical, durable and available in a range of power sizes. Other options include concealed closers, floor springs and electromagnetic hold-open units. These can give a cleaner appearance or suit heavier doors, but they are less forgiving to install and may require preparation to the door, frame or floor.
Check the door’s width, weight, handing and location before ordering. A closer that is too weak may not overcome latch resistance, seals or air pressure. One that is too powerful can make the door difficult for children, older residents and wheelchair users to open. Adjustable power closers are useful where the final door weight or site conditions are uncertain, provided the chosen model covers the required size and application.
For external doors, allow for wind pressure and changes in air pressure between rooms. For doors opening on to a busy corridor, choose a hard-wearing closer and ensure it has a suitable backcheck function if needed. Backcheck slows the door before it reaches the wall or adjacent door, but it is not a substitute for a correctly positioned door stop.
Fire door requirements are not optional
A fire door closer must be suitable for the door’s fire rating and installed exactly as its evidence of performance requires. Do not assume that any CE or UKCA-marked closer is automatically suitable for every FD30 or FD60 door. Check the product specification, fire test evidence and the door manufacturer’s instructions.
The fire door must close fully into its frame from any open position, overcoming the latch and any resistance from smoke seals. It must not be wedged open. A hold-open device is only appropriate where it is designed for the application and releases automatically when the fire alarm activates. In flats, shared buildings and workplaces, the responsible person or building manager may have additional fire-safety duties, so it is sensible to use a qualified installer where there is any doubt.
Tools and checks for fitting door closers
Most surface-mounted door closers are supplied with a paper template, screws and arm fixings. You will normally need a tape measure, pencil, bradawl, drill, suitable drill bits, screwdriver or impact driver, spanners, spirit level and safety glasses. Use fixings suitable for the door construction. Solid timber, engineered timber, aluminium and hollow-core doors all need different consideration.
Before marking anything out, inspect the door. It should be hung squarely, with consistent gaps and hinges that are secure and free from play. The latch must engage without needing to lift, push or pull the door. Correct these faults first. A closer cannot compensate for a twisted door, loose hinges or a poorly aligned strike plate.
Also establish the opening direction. Stand on the side where the hinges are visible: this is commonly referred to as the pull side. Most closers can be fitted in more than one position, such as pull-side regular arm, push-side parallel arm or top jamb mounting. The template will show the exact arrangement for your closer. Do not copy the position of an existing closer unless it is the same model and mounting type.
How to fit door closers step by step
1. Set the door and select the mounting position
Close the door and confirm that it latches smoothly. Decide whether the closer body will sit on the door or the frame, according to the manufacturer’s approved mounting arrangement. A parallel arm installation is often preferred on the push side because the arm sits flatter against the door, reducing projection into the room. However, available headroom, architraves and the reveal depth can rule out certain arrangements.
For a fire door, do not move the closer simply to avoid a decorative feature or glazing panel. Keep to the approved fixing positions and ensure no door core is unnecessarily cut away.
2. Use the supplied template, not rough measurements
Tape the template flat against the correct face of the door or frame, aligning it with the hinge edge and top edge as marked. Templates account for the closer’s geometry, opening angle and arm position. A few millimetres out can prevent the arm from operating correctly or stop the door achieving its intended opening.
Mark all fixing holes with a pencil or bradawl. Check the marks twice before drilling, particularly where the closer body is to be fitted near the top rail of a glazed or panelled door. If you are fitting to a veneered or painted finish, use low-tack tape under the template to reduce marking and drill carefully to avoid breakout.
3. Drill pilot holes and secure the closer body
Drill pilot holes to the diameter and depth specified for the supplied screws. Do not use excessively long screws that could emerge through the opposite face of the door or interfere with glazed apertures. On a hollow-core door, standard wood screws may not provide adequate holding strength. Use a closer specifically approved for that door construction or seek advice before proceeding.
Fix the closer body firmly, keeping it level and tightening each screw evenly. The body must not rock or pull away from the surface. On timber fire doors, only use the supplied or specified intumescent protection if the manufacturer requires it. Substituting screws, plates or packing pieces can affect fire performance.
4. Fit the arm in the correct sequence
Attach the main arm to the closer spindle at the angle shown on the instructions. Then fit the shoe or bracket to the frame or door, depending on the mounting arrangement. The arm may need to be preloaded slightly before the forearm is connected. This is normal, but follow the exact sequence for the model rather than forcing the arm into place.
Once connected, open and close the door by hand. Check that the arm does not foul the frame, architrave, ceiling or adjacent wall. Confirm that the closer body and arm fixings remain tight after several cycles.
5. Adjust closing and latching speed gradually
Most hydraulic closers have separate adjustment valves for sweep speed and latch action. Sweep speed controls the main closing movement, while latch action governs the final few degrees as the latch engages. Some models also include delayed action and backcheck adjustment.
Start with small adjustments, usually no more than an eighth of a turn at a time. Turning a valve too far can damage the closer or cause hydraulic fluid to leak. Never remove adjustment screws completely. Allow the door to complete several closing cycles after each adjustment, as a single movement does not always show the final result.
The target is controlled closing with enough final force to engage the latch. A door should not slam, but neither should it stop short and require someone to push it shut. On fire doors, test from a range of open positions, including the widest normal opening angle.
Final checks that prevent call-backs
Once fitted, check the closer with the door fully open, halfway open and nearly closed. Look for screws loosening, arm contact with surrounding finishes and changes in closing action. Test the latch engagement without holding the door or assisting it by hand.
For a fire door, inspect the perimeter gaps, intumescent or smoke seals, hinges and latch as well as the closer. The closer is only one component of a compliant doorset. If the door has glazing, panic hardware, access control, a drop seal or unusually heavy ironmongery, the whole arrangement may need specialist specification.
Door closers also need periodic maintenance. Dust and paint can obstruct moving joints, while building settlement, new carpets and changes to seals can alter the closing force. Check fixings and operation routinely, especially on entrance, communal and high-traffic doors.
A correctly chosen closer makes a door feel controlled rather than cumbersome. For projects involving fire-rated, commercial or particularly heavy doors, sourcing the door, frame, seals and certified ironmongery as a compatible package from a specialist such as Door Supplies Online helps avoid costly mismatches before fitting begins.
For more information about our interior or exterior doors or door accessories, give us a call at 01603 622261 and speak to a member of our expert team today, or email us at sales@doorsuppliesonline.co.uk. We look forward to hearing from you.