
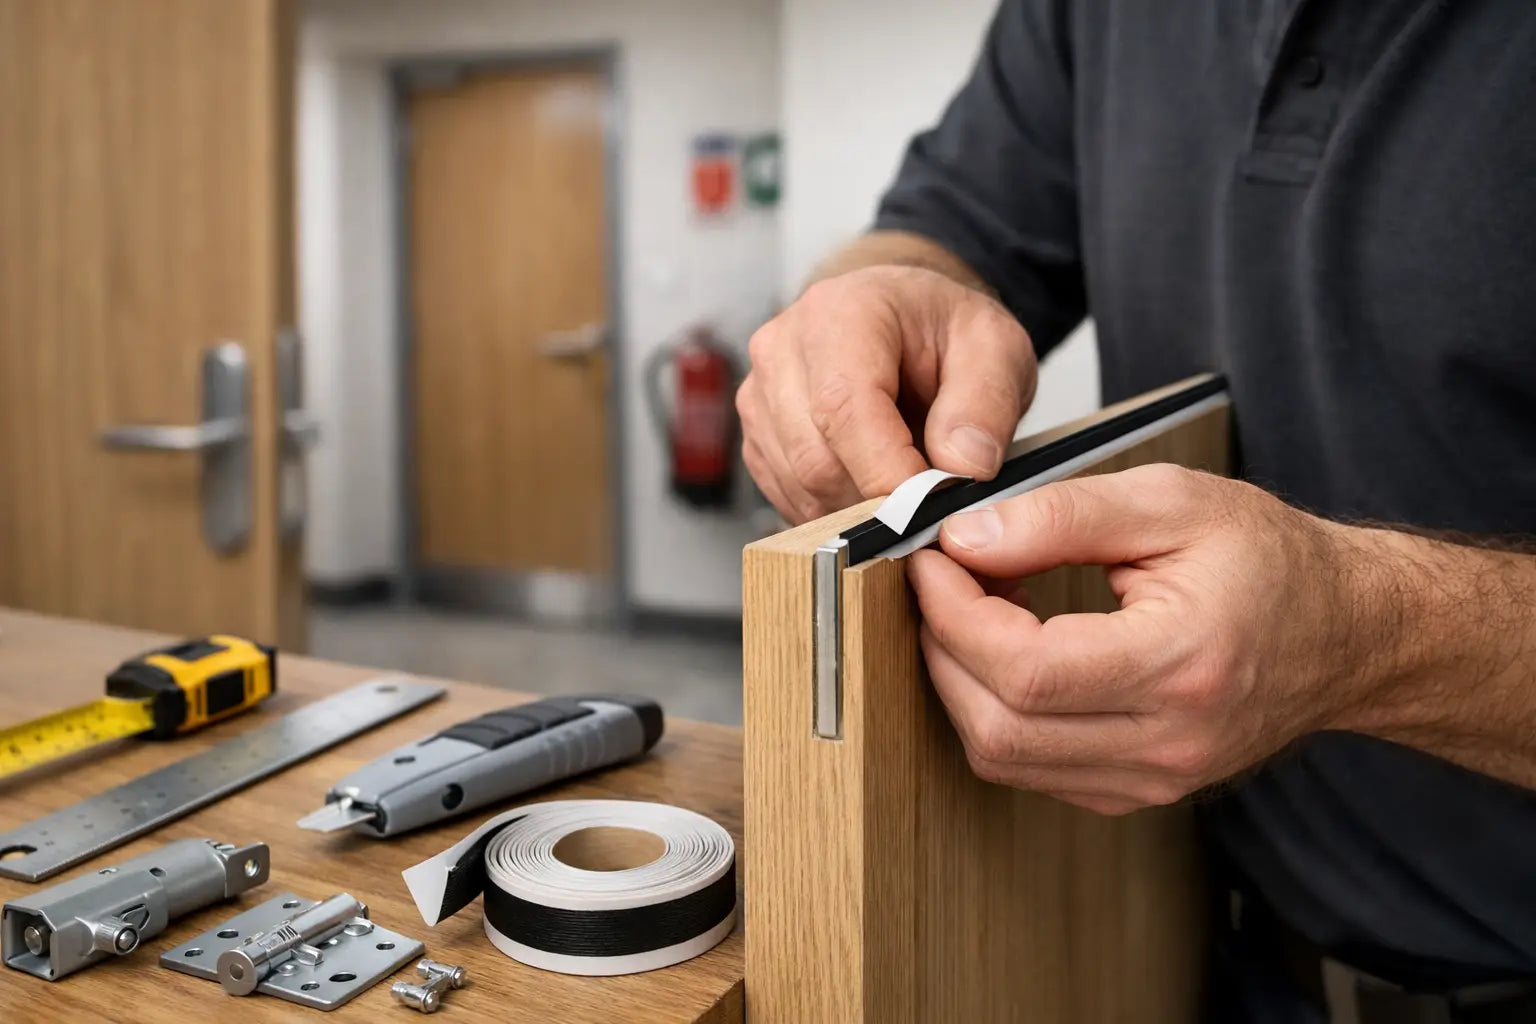
A fire door may look similar to a standard internal door, but the small gap around its edges forms part of a tested fire-resisting assembly. Knowing how to fit intumescent strips correctly is therefore more than simply cutting a seal to length and fixing it in place. The intumescent strip must be the correct type, size, location and specification for the particular FD30 or FD60 fire door, frame and ironmongery.
When exposed to high temperatures, intumescent material expands and helps close the gaps around the door leaf, reducing the passage of fire and hot gases through the doorway. Some modern intumescent fire door seals also incorporate a brush or blade smoke seal, which helps limit the movement of cold smoke under normal conditions.
Intumescent and smoke seals perform different functions and should not be selected or installed based on appearance alone. Before fitting fire door intumescent strips, check the door manufacturer's installation instructions and certification requirements. The seal profile, dimensions, position and compatibility with the frame and door leaf all need to match the tested doorset specification.
For FD30 and FD60 fire doors, correct installation is essential. Do not simply replace an existing seal with a different product or alter the door or frame without checking the manufacturer's guidance, as changes to the doorset can affect its certified fire performance.
Check the fire door specification before fitting
The first rule is straightforward: follow the fire door manufacturer's installation instructions, test evidence or certification label. A fire door is tested as a complete doorset, not as an isolated door leaf. Its hinges, latch, frame, glazing, gaps, seals and fixing method all contribute to its stated performance.
Before ordering or fitting anything, establish the fire rating. Most domestic fire doors are FD30, intended to provide 30 minutes of fire resistance, while FD60 doors are common in more demanding commercial and multi-occupancy settings. An FD60 door will often require larger or differently positioned seals than an FD30 door.
Also check whether the existing door or frame is already routed for seals. A pre-formed groove is a useful indicator, but it is not proof that any strip of the same width is suitable. Look for a fire-door plug, label or certification marking on the top edge of the door and refer to the door manufacturer's guidance where available.
If the door is part of a flat entrance, communal corridor, protected stairwell, commercial premises or a building subject to a fire-risk assessment, use a competent fire-door installer. Replacing seals without confirming compatibility can compromise the doorset and may create a compliance issue. In these situations, a certified inspection is often the sensible starting point.
Choose the correct intumescent strip
Intumescent strips are supplied in several widths and thicknesses, commonly as self-adhesive lengths for a prepared groove. The dimensions need to match both the groove and the door's tested specification. A strip that sits proud of the groove can stop the door closing fully; one that is too small may leave space for fire and smoke to pass.
The key choice is between plain intumescent seal and combined intumescent and smoke seal. Plain seals expand only when heated. Combined seals have an intumescent core with a brush or fin that seals the gap against smoke when the door is closed. In many dwellings, smoke seals are specified for particular locations, but requirements vary by building design and fire strategy.
Do not assume a smoke brush is always an upgrade. A brush that creates excessive resistance can prevent a self-closing fire door from latching, which is a serious defect. The closer must shut the door fully from any open position, without being slammed or pushed closed. This is particularly relevant where a door has been repainted, altered or fitted with new flooring.
Buy enough strip for both vertical edges and the head of the door, allowing a little extra for accurate trimming. The bottom edge is normally left unsealed unless the tested system specifically requires otherwise. Fire doors need an appropriate threshold gap, and fitting a strip at the bottom without approval can affect operation and certification.
Tools and preparation for fitting intumescent strips
For a door or frame that already has suitable grooves, the job is relatively simple. You will need a tape measure, pencil, sharp knife or shears, clean cloth, suitable degreaser and a small roller or firm block for pressing the strip into place. A straightedge can help keep long runs neat.
For an un-grooved door or frame, you may need a router, guide and correctly sized cutter. This is where the job becomes less suitable for casual DIY. The rebate position, groove depth and groove width must match the fire-door manufacturer's detail. Removing too much timber from the wrong part of the leaf or frame can affect the fire performance of the assembly.
Start by checking that the door closes freely and latches before you fit the seals. Measure the perimeter gaps with the door shut. As a general guide, fire door gaps are often around 2mm to 4mm at the sides and head, but the permitted tolerance comes from the tested doorset specification. A gap that is too wide cannot be reliably corrected by choosing a larger smoke brush.
Clean the groove thoroughly. Dust, old paint, wax, oil and loose fibres reduce the grip of self-adhesive backing. If old strip is being replaced, remove every trace of the previous adhesive and allow the surface to dry completely. Do not fit a new seal over an old one or use sealant to make an ill-fitting strip stay in place.
Door leaf or frame: where should the seal go?
The strips may be fitted into the edge of the door leaf or into the frame stop, depending on the tested system. Both approaches are used. What matters is that the seal runs continuously around the required edges and meets correctly at the corners when the door is closed.
On many timber fire doors, the strips sit in the door edges on the two vertical stiles and top rail. Other doorsets place them in the frame rebate. Never move the strips merely because one arrangement looks easier to fit. If the existing certified frame has grooves, retain that arrangement unless the manufacturer instructs otherwise.
How to fit intumescent strips step by step
Measure each run separately rather than cutting three identical lengths. Door and frame dimensions can vary slightly, especially in older properties. Dry-position each length first to confirm that it reaches the corner without bunching or leaving a gap.
1. Start with the head seal. Cut it square and place it into the clean groove without removing all the backing paper at once.
2. Peel back a short section of backing, align the strip precisely at one corner and press it firmly into the groove. Continue gradually along the run, keeping the strip straight and flush with the surface.
3. Fit the two vertical strips from the top down. Butt the ends neatly against the head strip. Do not overlap the material, stretch it or leave open corner joints.
4. Run a roller or firm block along each seal to activate the adhesive evenly. Check that the brush or blade, where present, faces the correct direction and is not crushed.
5. Close the door slowly, then operate it several times using the self-closer. It should latch without excessive force, scraping or rebounding from the frame.
Avoid mitring the corners unless the manufacturer's fitting instructions expressly show this detail. Square butt joints are common because they provide full material thickness where the strips meet. The important point is a continuous seal path with no visible breaks.
Check the door after installation
Once fitted, inspect the door from both sides. The intumescent strip should sit securely in its groove, with no lifting ends, twists or sections pushed out by the closing action. The smoke brush should make light, consistent contact rather than folding flat or holding the door away from its stop.
Check the hinges, latch and closer as well. A fire door must close onto the latch every time. Wedges, hooks and improvised hold-open devices should never be used to overcome a door that has become harder to close after new seals are fitted. Instead, investigate the cause. It may be a poorly sized strip, incorrect hinge adjustment, a warped door, excessive paint build-up or a frame that is out of square.
Be cautious around letter plates, viewers, glazed apertures and door-bottom seals. These items may need intumescent protection of their own and must be compatible with the fire door rating. A door leaf with a fire label is not automatically compliant after holes are cut or hardware is changed.
When replacement is not enough
If the groove is damaged, the door has excessive gaps, the self-closer fails to latch, or you cannot identify the original fire-door specification, stop before making further alterations. A new strip cannot make an unsuitable door and frame into a certified fire doorset.
For renovations and new installations, a pre-assembled fire door set can reduce uncertainty because the leaf, frame, seals and key components are selected to work together. Door Supplies Online can also help customers narrow down appropriate FD30 and FD60 door, frame and ironmongery options before installation.
A neatly fitted strip is only useful when the door closes, latches and remains part of a correctly specified assembly. Treat those final checks as part of the fitting job, not an optional extra.
For more information about our interior or exterior doors or door accessories, give us a call at 01603 622261 and speak to a member of our expert team today, or email us at sales@doorsuppliesonline.co.uk. We look forward to hearing from you.