
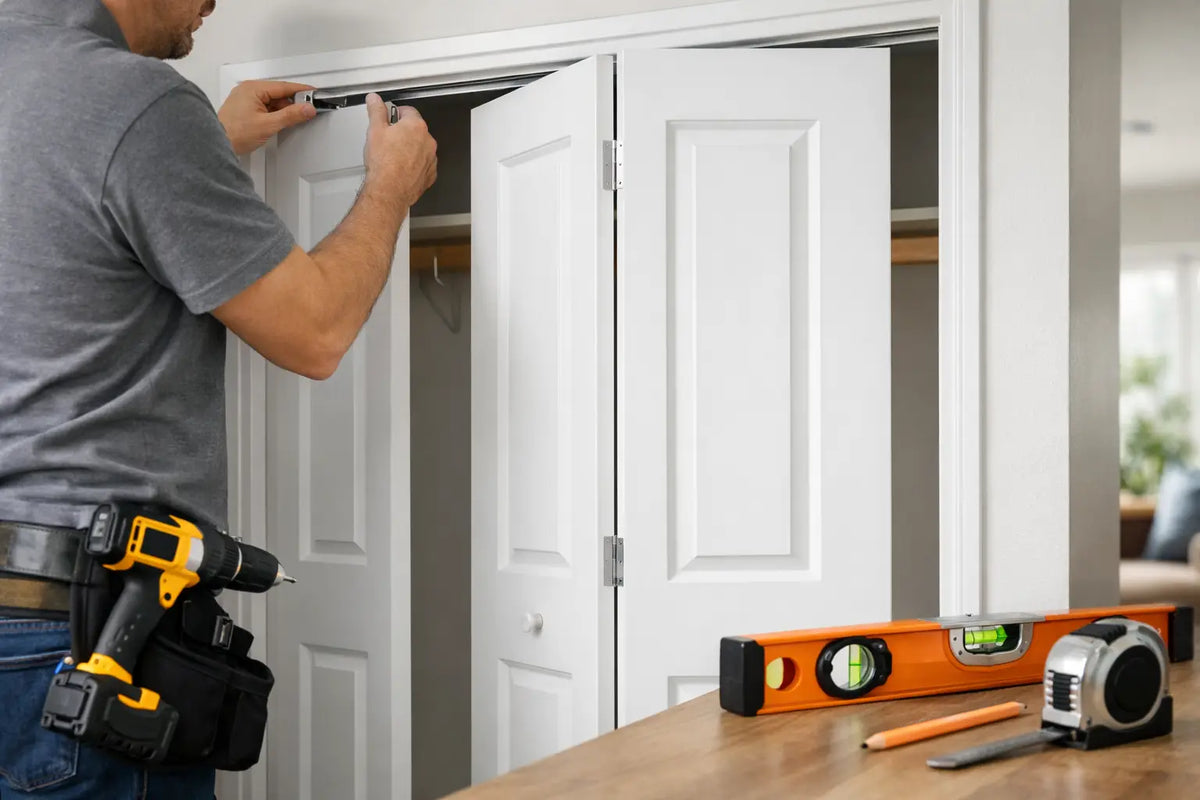
A bifold door can look straightforward once the panels are folded back against the lining, but bifold door installation is less forgiving than it may appear. A bifold door track fixed just a few millimetres out of level, a lining that has closed in at the head, or a floor guide positioned incorrectly can leave the panels dragging, springing open or refusing to close neatly. Knowing how to hang bifold doors properly starts with preparing the opening accurately, rather than relying on the hardware to compensate for an uneven or incorrectly sized opening.
Most internal bifold doors use a top track, a bottom pivot fitted near one jamb and a top pivot or hanger positioned towards the opposite side. As the panels move, they fold together along the track, while a floor guide helps control the leading edge. The exact arrangement of bifold door hardware varies between manufacturers and door systems, so the supplied fitting instructions, component layout and specified drilling dimensions should always take priority over any general installation method.
Before fitting the doors, check that the opening is square, the lining is correctly positioned and the head is level. Taking time to get these details right will make the installation easier and help the finished internal bifold doors open, fold and close smoothly.
Check the Door, Kit and Opening First
Before fitting anything, confirm that the door is designed for the opening and handing you have. Bifold doors are commonly supplied as two-leaf sets, although wider openings may use two sets that meet in the middle. Decide which side each set will stack towards and make sure the handle position suits the room layout.
Measure the opening width at the top, middle and bottom, then measure the height on both sides and through the centre. Use the smallest width and height when checking the manufacturer’s stated fitting size. A finished opening should be square, with plumb jambs and a level head. Do not assume a new lining is accurate, particularly in an older property where walls and floors may have moved.
Also check the finished floor level. If carpet, engineered wood or tile is still to be laid, account for its final height before positioning the bottom pivot and guide. A guide installed against a bare subfloor can become too low once the floor finish is fitted, causing the door to bind or sit out of alignment.
You will usually need the following:
- tape measure, pencil and combination square
- spirit level or laser level
- drill and suitable bits for timber, masonry or metal fixing
- screwdriver or drill driver, plus the correct driver bits
- packers, fixings and a sharp saw if the track requires cutting
If you are fixing into masonry, use appropriate plugs and screws. For a timber lining, long enough wood screws should bite securely into sound timber, not just thin decorative trim.
Prepare the Track Position
Most domestic bifold doors are top-hung, which means the head of the lining carries the track and most of the operating load. Check that the head is solid and capable of taking fixings. If the track is being fitted to a plasterboard bulkhead or a lightweight frame, find the structural timber or add suitable noggins before proceeding.
Offer up the track and mark its fixing holes. It should sit level from side to side and be positioned exactly as the hardware instructions specify, usually set back from the face of the lining. This set-back is what allows the door to fold cleanly without catching the architrave or protruding awkwardly into the room.
Cut the track only where the manufacturer allows it. Remove any moving parts first, and use a fine-tooth hacksaw or mitre saw suitable for aluminium. File away burrs after cutting, as even a small rough edge can prevent a hanger wheel from travelling smoothly. Refit any end caps or stops before the track goes up if access will be limited afterwards.
Fix the track through every intended hole, working from one end to the other while checking level as you go. Overtightening can distort lighter aluminium tracks, so tighten the screws firmly without crushing the section.
Fit the jamb brackets and pivots
The fixed pivot side of the bifold door needs both a top bracket and a bottom bracket. Their alignment matters more than their appearance. Mark them from the track and floor reference points given in the instructions, not from an assumed centre line on the door lining.
Fit the lower pivot bracket first if your kit uses one, keeping it square to the jamb. Then install the top pivot bracket directly above it. A long level held against the jamb, or a plumb laser, makes this easier. If these brackets are not vertically aligned, the door will twist as it opens and the gaps will change from top to bottom.
Some systems use a bottom pin fixed into the door and a nylon floor socket or guide channel instead. Others have a separate guide that sits close to the opening edge. The principle remains the same: do not permanently fix the guide until the door has been hung and its travel has been tested.
How to Hang Bifold Doors Without Damaging the Hardware
Lay the door on a clean, protected surface and identify the pivot edge, leading edge and top of the assembly. Timber bifold doors may arrive with the pivots and rollers pre-fitted, but check they are tight and correctly seated. If you need to fit them, drill pilot holes first to reduce the risk of splitting, especially near the edges of an oak-veneered or painted door.
With a second person supporting the weight, engage the top pivot into its jamb bracket, then locate the bottom pivot into the floor bracket or socket. Lift the opposite top corner so that the roller or guide pin enters the overhead track. Depending on the system, this may involve depressing a spring-loaded pin before releasing it into place.
Do not pull hard on the folding leaves to make a pin engage. Remove the door, check the bracket position and try again. Forcing the mechanism can bend a pivot pin, damage a nylon guide or mark the finished edge of the door.
Once the door is supported by the track, open and close it slowly several times. At this stage, it is normal for the alignment to need adjustment. The aim is for the pivot-side gap to be even, the leading edge to sit straight when closed and the panels to fold without rubbing each other.
Adjust the Door Before Fixing the Floor Guide
Most bifold hardware includes adjustment at the top pivot, bottom pivot or both. Small changes have a noticeable effect, so adjust one point at a time. Moving the bottom pivot sideways changes the position of the door within the opening; height adjustment at the top or bottom can correct a door that is catching the floor or leaving an uneven head gap.
Close the door and inspect the reveal around all four sides. A slight shadow gap is expected, but it should look deliberate and consistent. If one leaf appears lower than the other, first confirm the folding hinges are secure and the track is level. Adjustment will not correct a warped door or a lining that is significantly out of square.
When the door closes cleanly, position the floor guide. It should control the leading edge as the door moves, without creating drag. Mark its location with the door fully closed, then open the door and make sure the guide does not obstruct the fold or create a trip hazard. Drill pilot holes and fix it only once you are satisfied with the operation.
For pairs of bifold sets meeting at the centre, adjust each set independently before fitting any magnetic catch, rebate detail or meeting stile hardware. Both doors need equal clearances, otherwise one set will do all the work and the centre joint will look uneven.
Common Fitting Problems and What They Usually Mean
A door that rolls open by itself often points to a track that is not level. If it catches at one end, inspect the track for a proud screw head, a burr at a cut edge or a roller that has not seated properly. Rubbing at the floor can mean the finished floor height was overlooked, although a modest height adjustment may solve it.
If the folding leaves will not sit flat when closed, the pivot brackets may not be in line or the floor guide may be pulling the leading edge too far. Release the guide screws slightly and retest before moving any major hardware. A door that feels loose or rattles in use may simply need the pivot pin, hanger or track stop tightened.
Avoid trimming a bifold door unless the manufacturer explicitly permits it. Cutting too much from the bottom can weaken the door, spoil a factory finish or remove the location for bottom hardware. It may also affect any warranty. Where the opening is unsuitable for a standard set, a correctly sized door, a bespoke solution or a pre-assembled system is usually the better long-term choice.
Choose Hardware That Matches the Door’s Job
Lightweight hollow-core bifolds and solid engineered timber doors do not place the same demand on pivots and tracks. Always check the maximum leaf weight and width supported by the kit, particularly when fitting glazed, oak or wider-panel designs. Using a light-duty kit on a heavier door may work briefly, then lead to noisy running, sagging and premature wear.
Bifold doors are generally intended for internal, non-fire-rated openings. They are not a substitute for a tested FD30 or FD60 fire door set, and fire door hardware must never be changed without confirming the complete assembly remains compliant. In communal, commercial or protected escape-route settings, specification should come before appearance.
For homeowners and trade installers alike, the best result comes from treating the door, lining and ironmongery as one system. Door Supplies Online can help make that choice more straightforward, from matching a bifold design to suitable tracks, handles and finishing details. Take your time on the first measurements and adjustments: a correctly hung bifold should fold quietly, close squarely and make the opening feel more useful every day.
For more information about our interior or exterior doors or door accessories, give us a call at 01603 622261 and speak to a member of our expert team today, or email us at sales@doorsuppliesonline.co.uk. We look forward to hearing from you.